Last lesson we created a “lose” state for when our player character is destroyed, which returns them safely to the game starting point. In this tutorial, we will add methods for the player to “win” or “lose”.
Losing
Sometimes our characters meet an unfortunate fate. Maybe they have stepped onto spikes or lava, immediately causing their doom. Dangerous terrain like this is called a “killzone”.
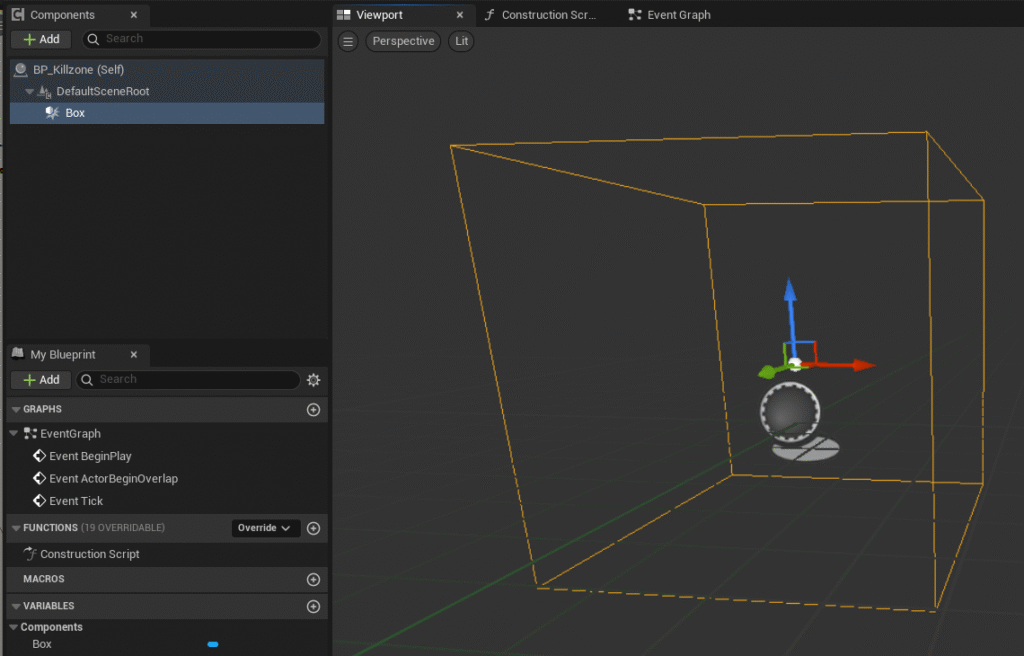
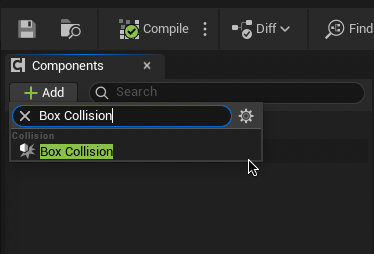
We are going to set up our killzone using the respawn function we implemented in the last tutorial. Go to the Content Drawer and go to Add > Blueprint Class > Actor. Name this new Blueprint “BP_Killzone” and double-click to enter. Once in the blueprint add a Box Collision using the Components panel on the left. Head to the Event Graph.
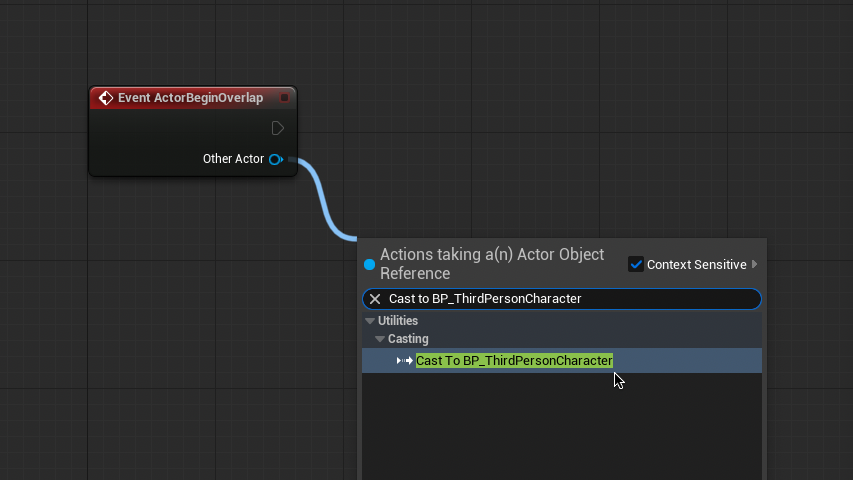
From “Event ActorBeginOverlap” Cast to BP_ThirdPersonCharacter.
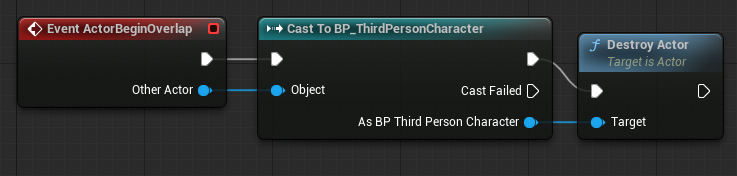
Now from “As BP_Third Person Character” Drag and release to select “Destroy Actor”.
Compile and test. Your character should trigger the respawn function we created last lesson when coming into contact with the killzone. Feel free to return to the viewport and add a static mesh to represent the killzone, such as spikes or lava.
While the killzone has it’s core functionality, it doesn’t really have any impact. Let’s freeze the character for a moment to signify the impact.
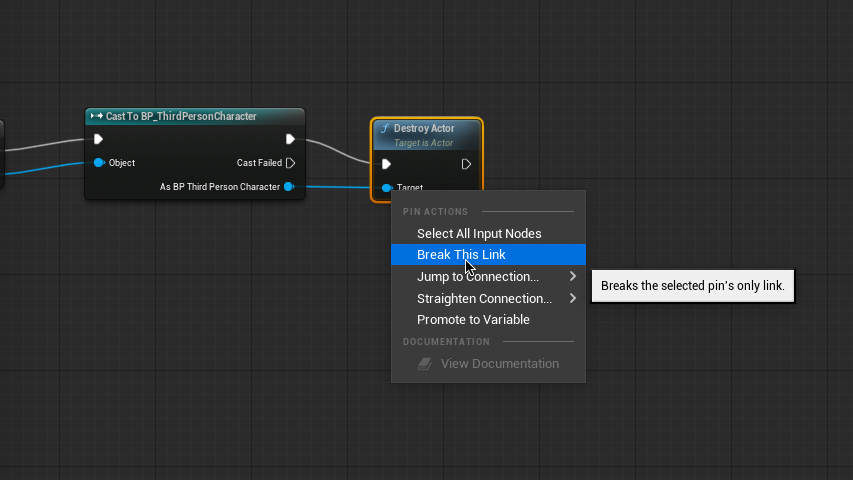
Right-click both the links to the Destroy Actor node and select “Break This Link”.
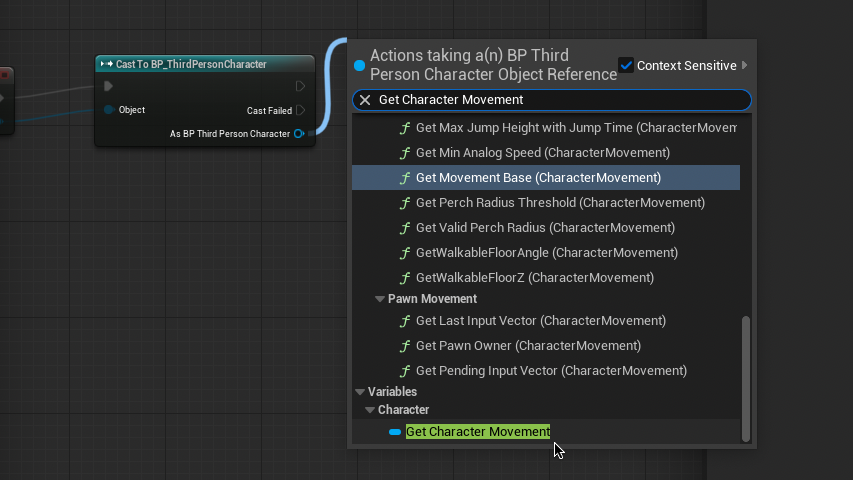
From “As BP Third Person Character” drag and release twice to select “Get Character Movement” and “Get Mesh”. These are the assets we will be freezing.
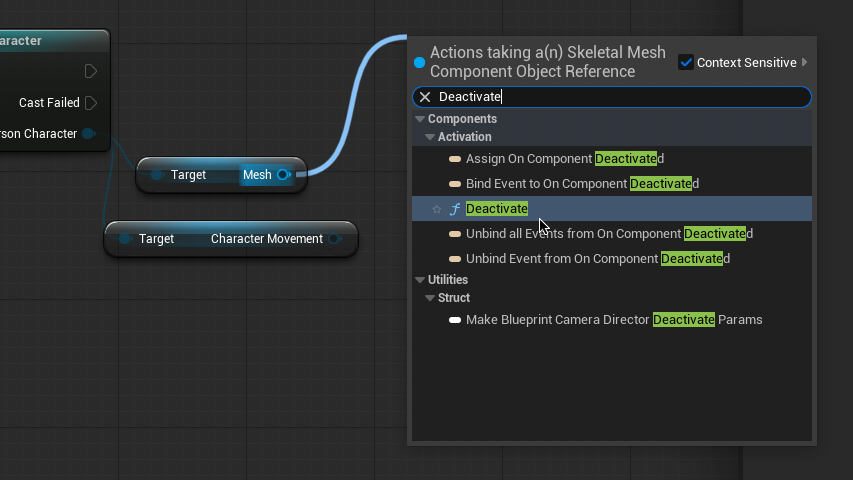
From one of these new nodes, drag and release to select “Deactivate”. Connect both of these nodes to the target. Connect the new Deactivate node to the Cast To BP_ThirdPersonCharacter node.
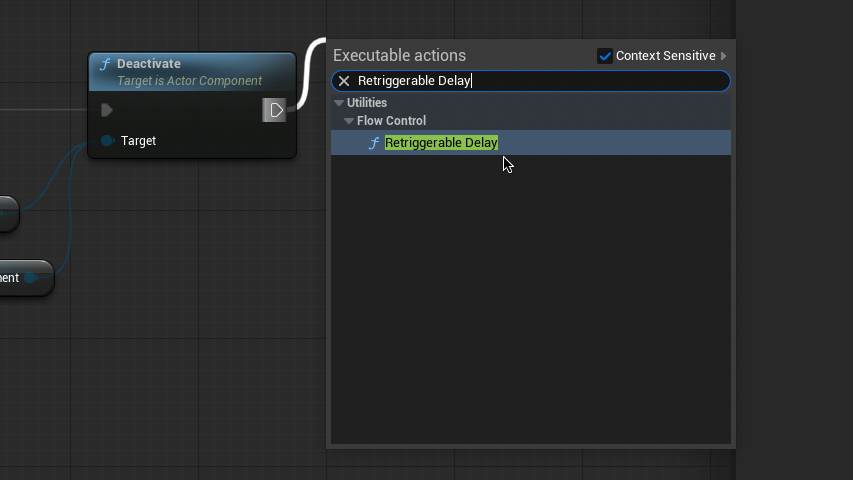
From the Deactivate node drag and release to select “Retriggerable Node”.

Reconnect the Destroy Actor node to the end of the chain and to “As BP Third Person Character”. Your Event Graph should look like this. Now when the player character hits the killzone there will be a noticeable delay before being returned to the respawn point.
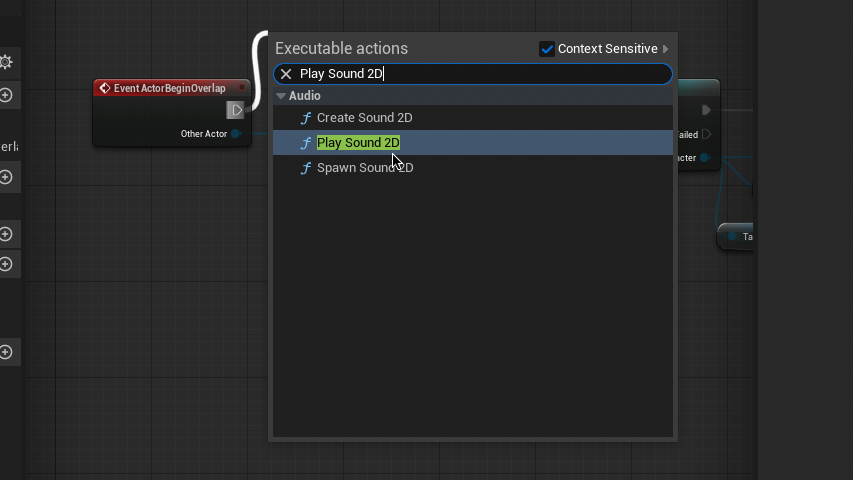
This is a good start, but we can improve the impact by adding a sound effect. Right-click the top output of the Event ActorBeginOverlap node and select “Break This Link”. Drag and release from this output to select “Play Sound 2D”, which will create a sound effect centered on the player. Connect the output of this node to the input of “Cast To BP_ThirdPersonCharacter”.
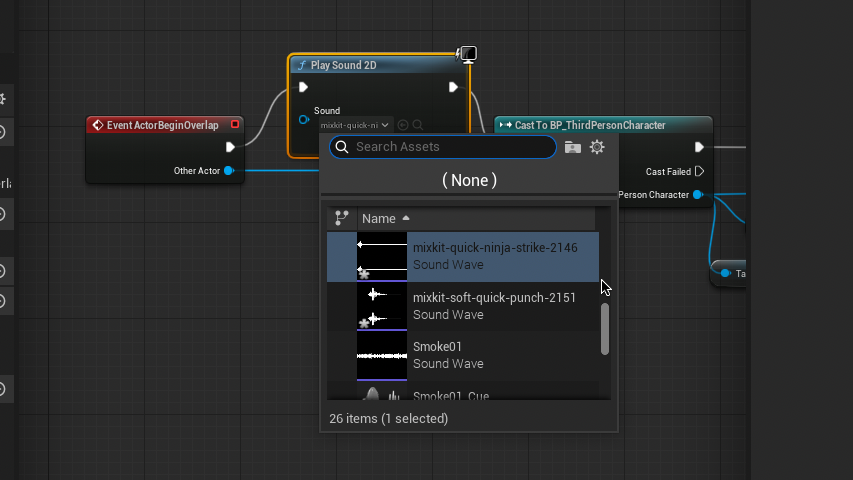
In the Sound input of the new node select your sound effect. You may want to find a sound online and import it to the game by going to Content Drawer > Add > Import to /Game…
We can add additional effects to increase the impact of our player character taking damage, such as shaking the screen, flashing red or black over the viewport, or adding particle effects such as sparks or explosions. Do some independent research to come up with your own to find your own way of communicating losing to the player.
Winning
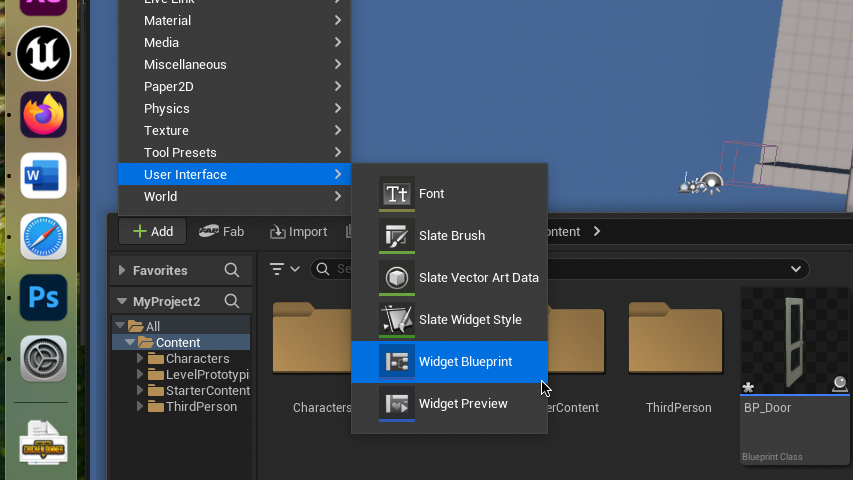
To start, we need to make a victory screen to communicate to the player that they have won the game. Got to the Content Drawer and select Add > User Interface> Widget Blueprint. Name this new Blueprint “WBP_Victory”. Double Click to enter the Widget Designer.
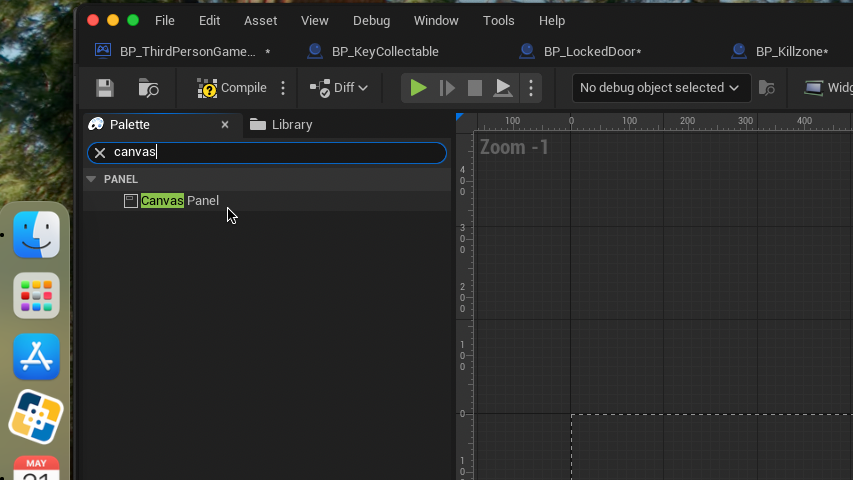
In the top-left Palette panel, search and drag “Canvas Panel” into the designer.
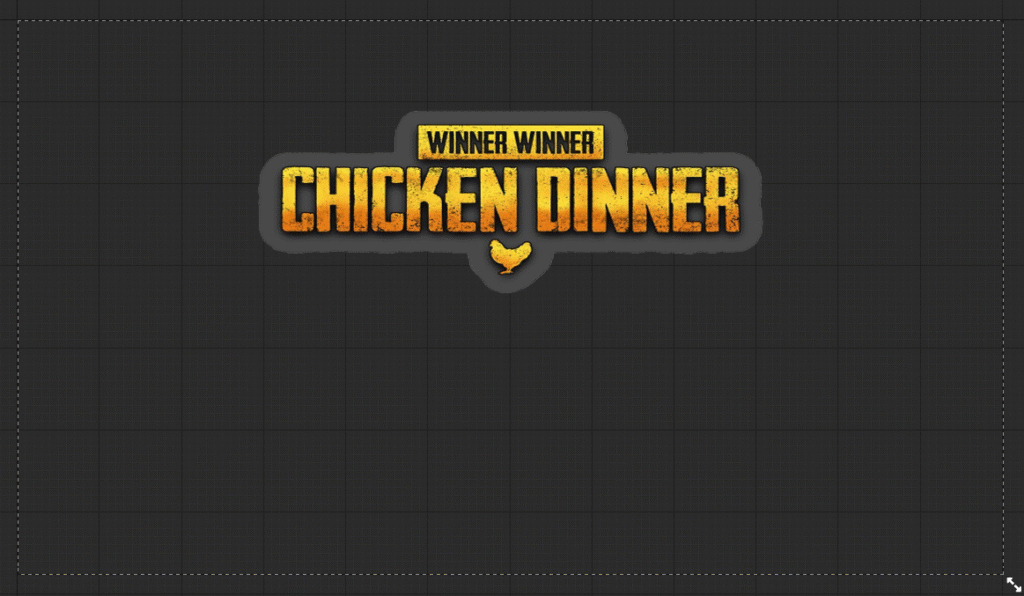
Spend a little bit of time designing a victory message to the player. You can add images or text the game way you did in Communicating Collectables.
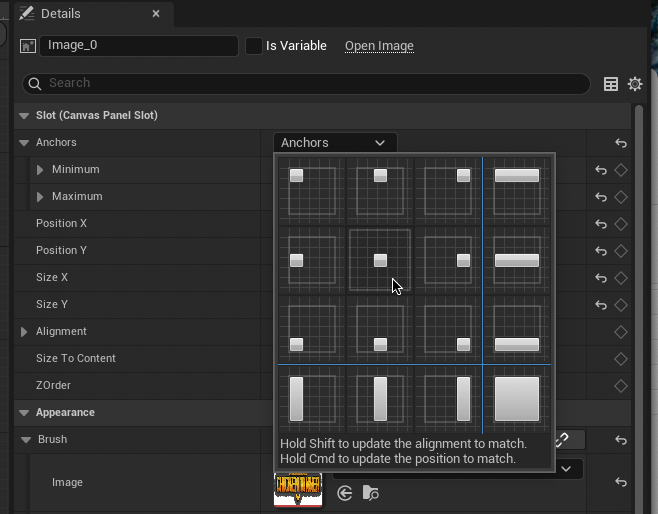
In the right Details panel, Anchor this and all future objects to center. This ensures the elements will always aligned to the center of the screen, regardless of screen size and aspect ratio.
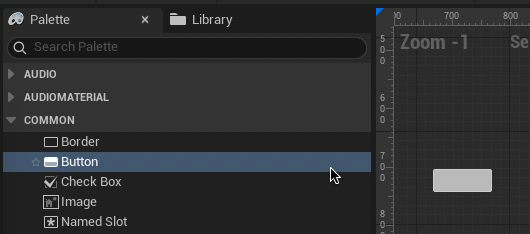
Back in the Palette panel, drag two buttons into the canvas. Name these buttons “Replay” and “Quit”.
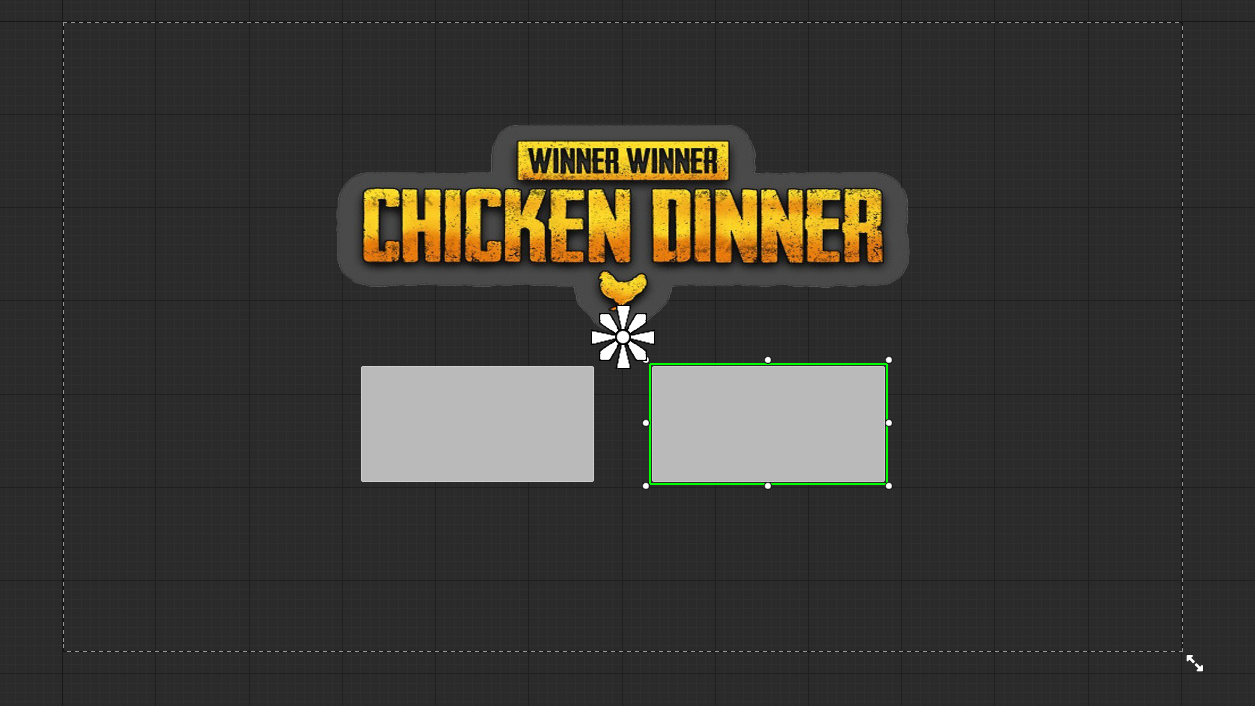
Resize and arrange these buttons however your feel.
From the left Palette Panel, Drag a text box into each button. In the right Details panel change the names of these text boxes to “RetryText” and “QuitText”. Change the text of these boxes to their respective purposes under Content > Text.

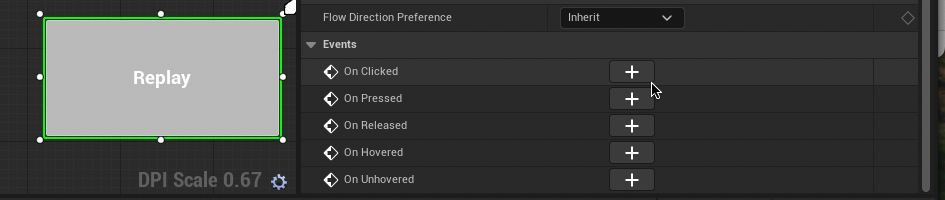
Now let’s add some controls to our buttons. Select the Retry button and scroll down to the bottom of the right Details Panel. Under “Events” select “On Clicked”, this will take you to the Event Graph.
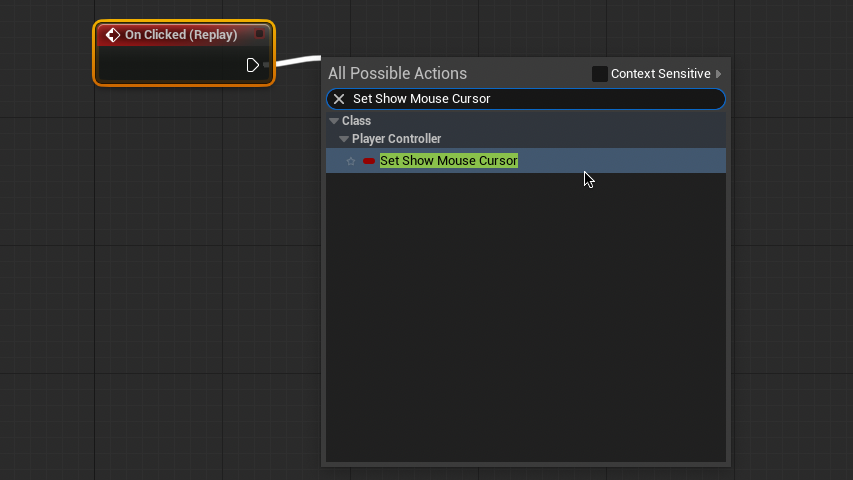
From the On Clicked Event, drag and release to type and select “Set Show Mouse Cursor” (you will need to uncheck “Context Sensitive” to find this) and ensure “Show Mouse Cursor” is unticked. Drag and release from the target input and select “Get Player Controller”.
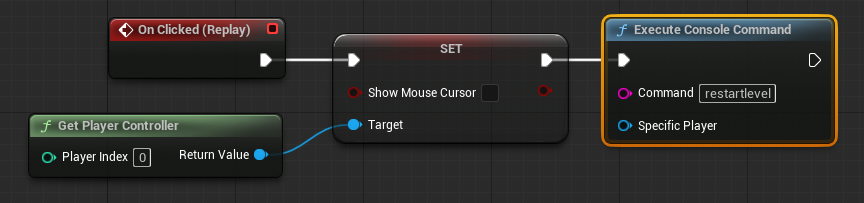
From the Set node output drag and release to select “Execute Console Command”. Fill in the Command text box with “restartlevel”. Your Event Graph should look like this.
Return to the Widget Designer and select the Quit button > On Clicked Event.
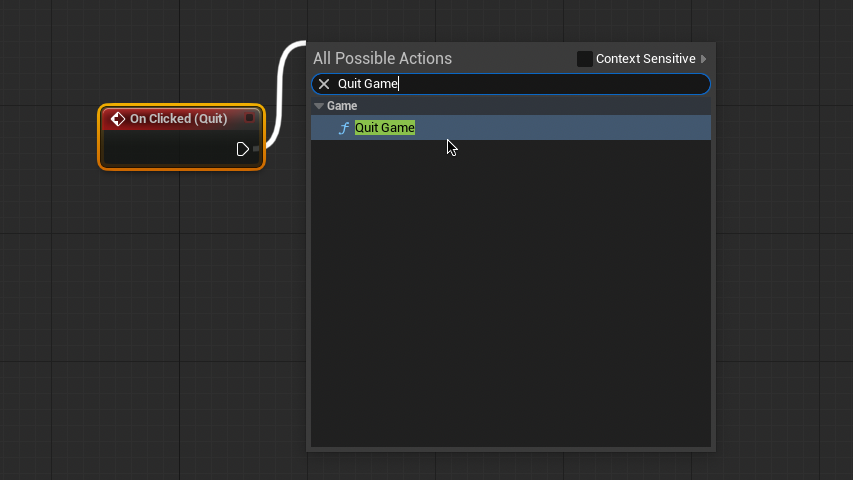
From “On Clicked (Quit)” drag and release to select “Quit Game”. Click compile.
We have now completed our victory screen widget. We now need to create a Goalzone to trigger this screen.
Return to the Content Drawer and Click Add > Blueprint Class > Actor. Name this blueprint “BP_GoalZone” and double-click to enter.
As we did for BP_Killzone, add a Box Collision. Go to the Event Graph.
From “Event ActorBeginOverlap” Cast to BP_ThirdPersonCharacter.
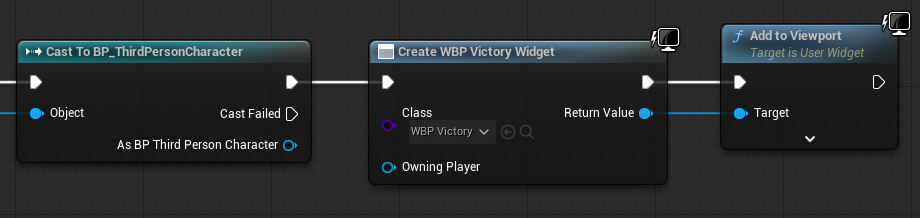
From the new node, drag and release to select “Create Widget”. Set the Widget Class to “WBP_Victory”. Drag and release from the Return Value to select “Add to Viewport”.
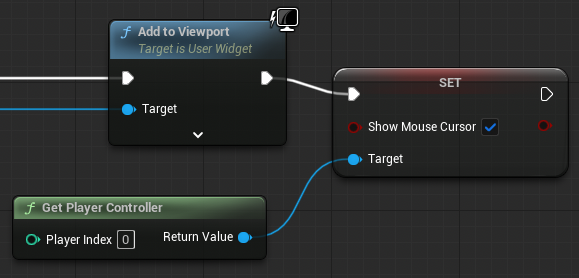
From the Add to Viewport node, drag and release to select “Set Show Mouse Cursor” (as before, you will need to uncheck “Context Sensitive” to find this) and ensure “Show Mouse Cursor” is ticked. Drag and release from the Target input to select “Get Player Controller”.

Finally, Drag from the Set node to select “Set Game Paused”. ensure “Paused” is ticked. Your Event Graph should look like this.
Compile and test. Your victory screen should now appear when the player character collides with it.
Think of other ways you could make the victory screen more exciting. Maybe you could add sounds or visual other effects to improve the players sense of achievement. This is your chance to be creative.