In this lesson we are going to create the first Blueprint in our Unreal Editor toolbox. To start, download this 3d model of a key. You will need to decompress the zip file:
To import your collectable into Unreal Editor open the Content Drawer in the lower left corner, press
Add > Import to /Game…
After selecting your object in files a popup menu will come up, while these settings are often important, we will use the default options today, press import.
The Key Should now be in the Content Drawer as a Static Mesh.

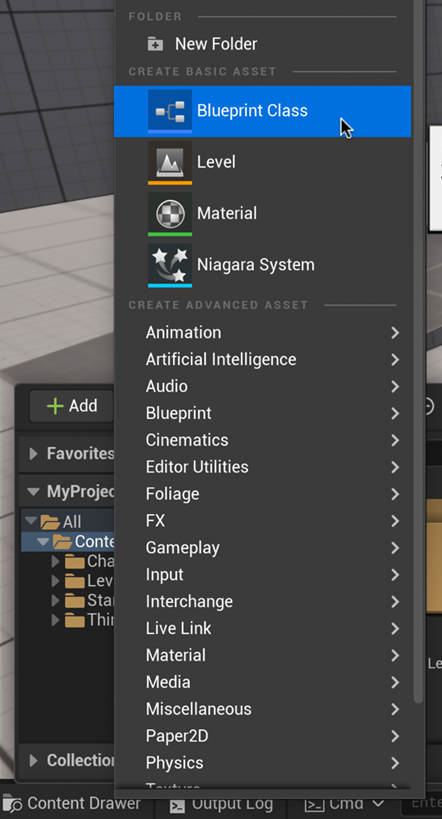
To create a blueprint your open Content Drawer, select Add > Blueprint and choose Actor from the pop-up menu.
So we can effectively use it later, we will name it something that helps us identifies it as a blueprint; as our collectable is a key, name it BP_KeyCollectible.
Double-click your newly created Blueprint to open it.
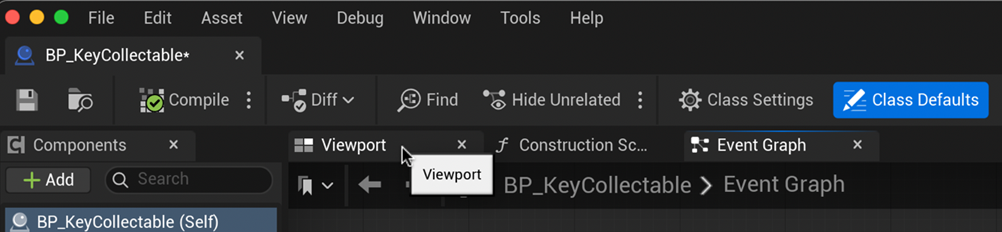
We are now going to add our Static Mesh into the Blueprint. You may need to change the view to “Viewport”.
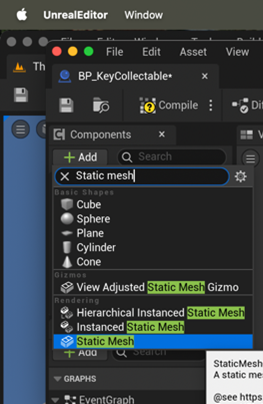
Using the Components menu in the top left click Add. Type “Static Mesh” in the search window and select it when it appears in the menu.
In the right-side Details panel, select your key in Static Mesh. At this point you may want to scale or reposition your object.
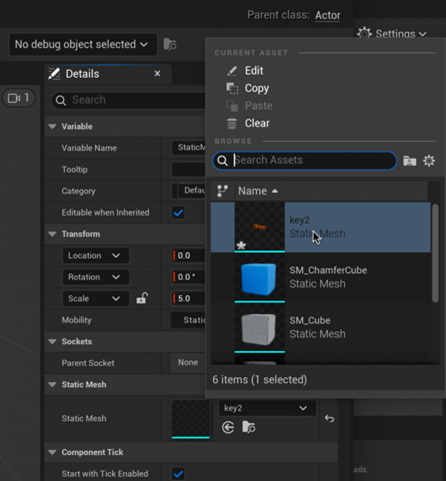
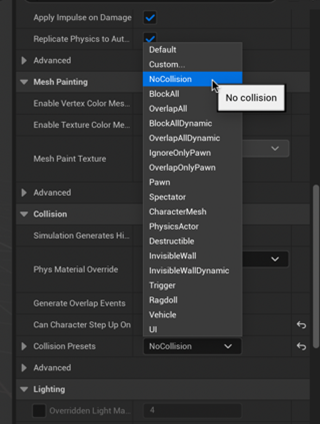
While we are in the Details panel, set the Collision Preset to NoCollision so that the player character won’t bump into the collectable as they pick it up.
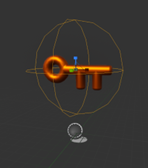
Let’s make our collectable easier to see by making it rotate on the spot.
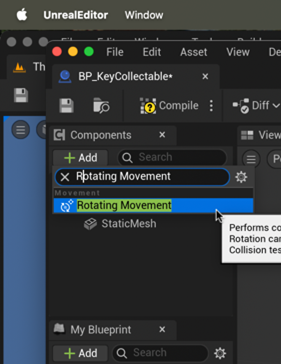
Back in the Components panel on the left, click Add and type “Rotating Movement”, select this when it appears below. For now, we will use the default rotation rate.
Return to the main window and click play to test the rotation effect. Be sure to drag the blueprint from the Content Drawer and not the static mesh.

Next, let’s add collision so that our character can pick up the collectable. In the Components menu click Add, type “Sphere Collision” and select this option when it appears. Move and scale this sphere so it surrounds the Static Mesh.
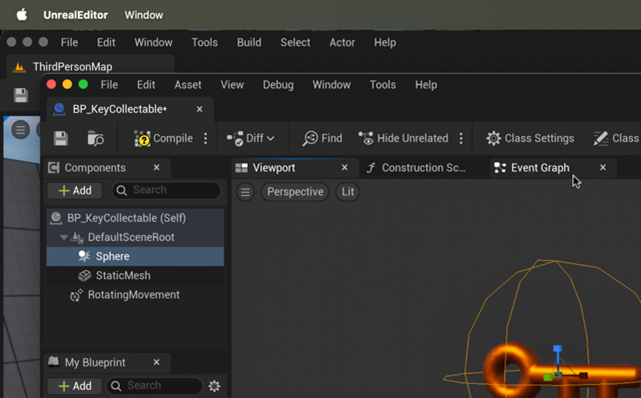
Now we need to tell our Collision Sphere how to operate. Select “Sphere” in the Components menu and click the Event Graph tab above the Viewport. This screen allows us to program how our collectable operates.
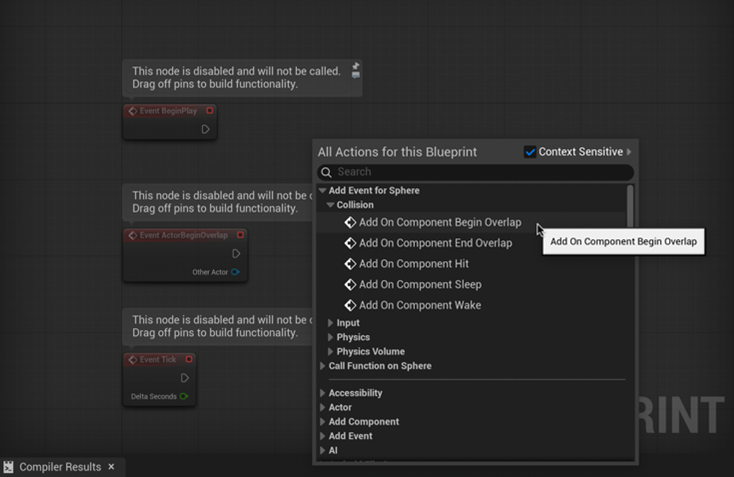
To add a new event, we need to right click a blank area of the Event Graph. Through the menu select Add Event for Sphere > Collision > Add on Component Begin Overlap.
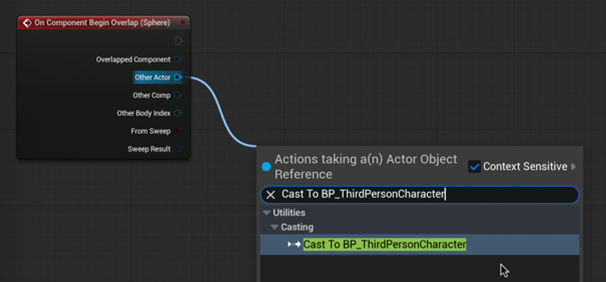
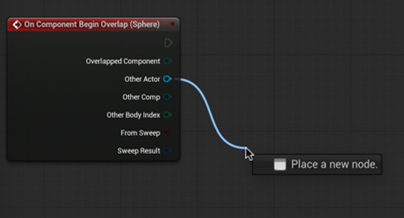
Drag from the arrow next to “Other Actor” and release into a blank space to create a new action. After releasing type and select “Cast To BP_ThirdPersonCharacter” from the list. This sets the conditions for activating the collectable.
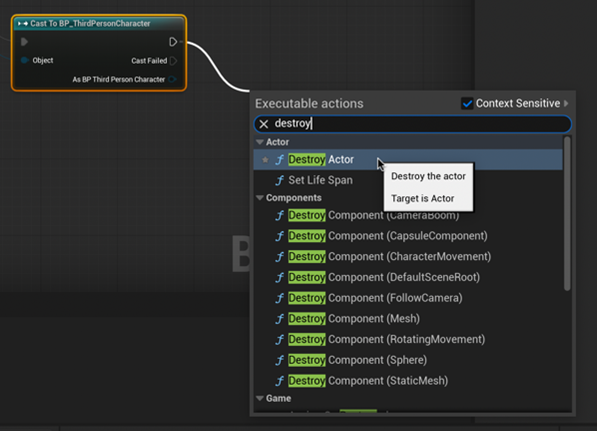
Finally, let’s make the collectable disappear when we collect it. From the top right arrow of Cast To BP_ThirdPersonCharacter drag and release to a blank space in the Event Graph. Type “Destroy Actor” and select this from the menu.
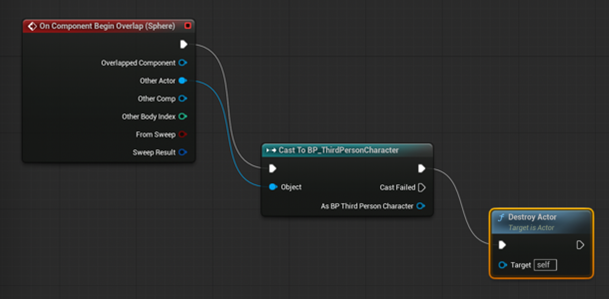
When completed, our Event Graph should look like this.
Return to the main window and click play to test. Don’t forget to drag the blueprint (not the object) out of the Content Drawer and into the scene first.