Now that we are able to track our number of collectables picked up we need to visually notify the player how many they have collected in a Heads Up Display (HUD). A HUD is the information we see on the screen about our characters condition, such as health, money, or where they are on a minimap.
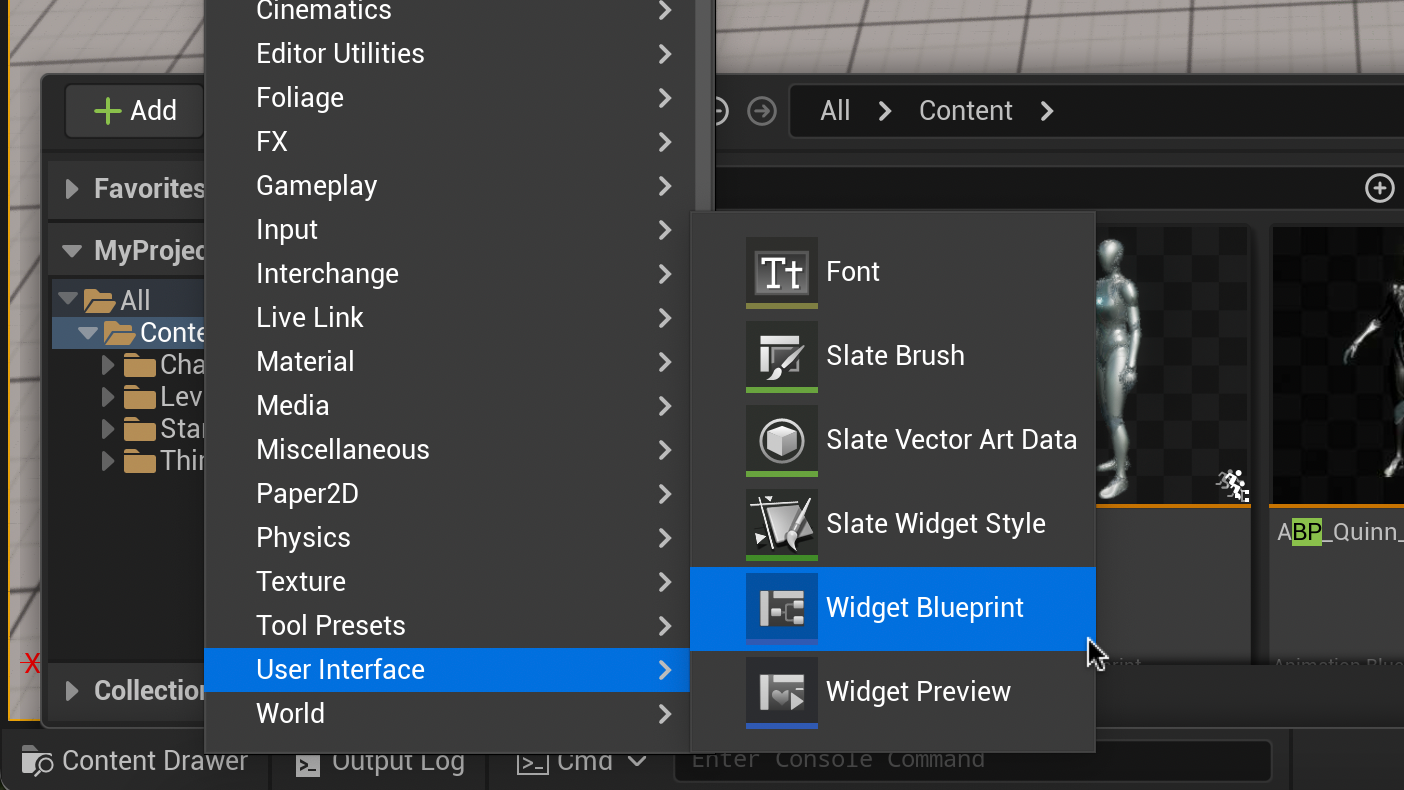
In the Content Drawer, Go to Add > User Interface > Widget Blueprint. Name it “WBP_HUD” and double click to enter the Widget Blueprint.
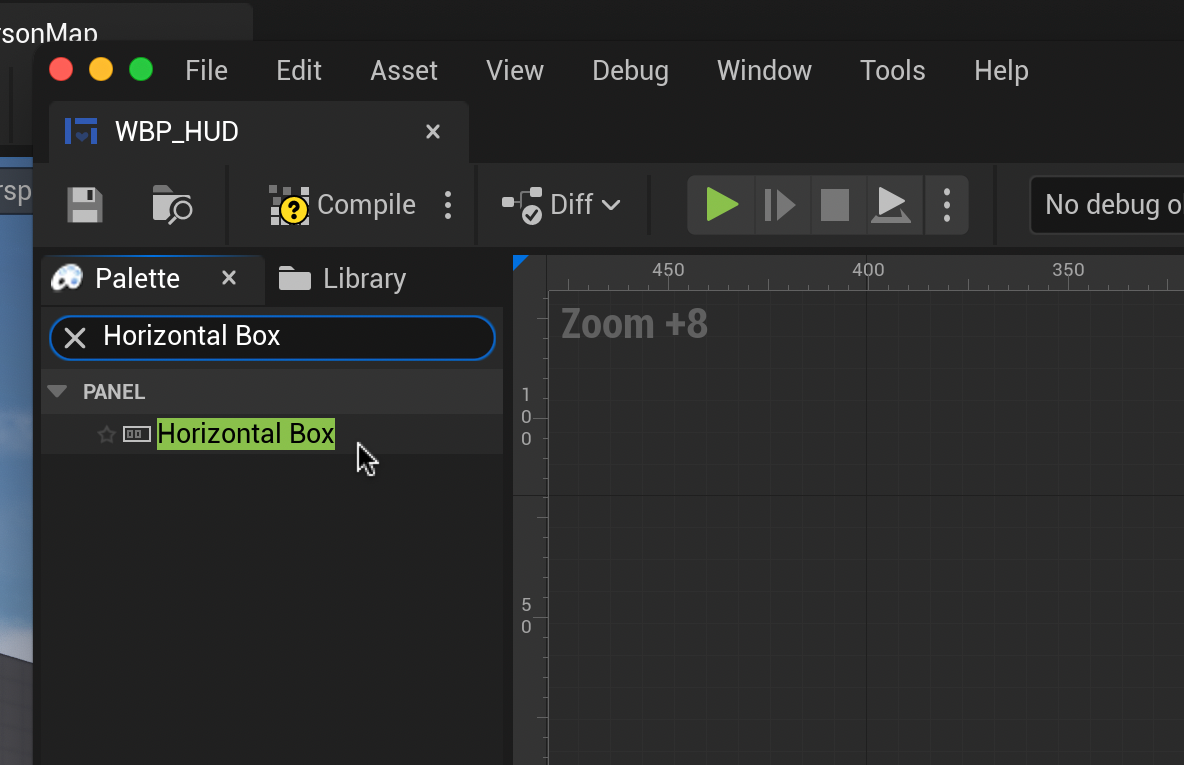
In the Widget Designer, type “Horizontal Box” in the palette panel on the left and drag into the design window.
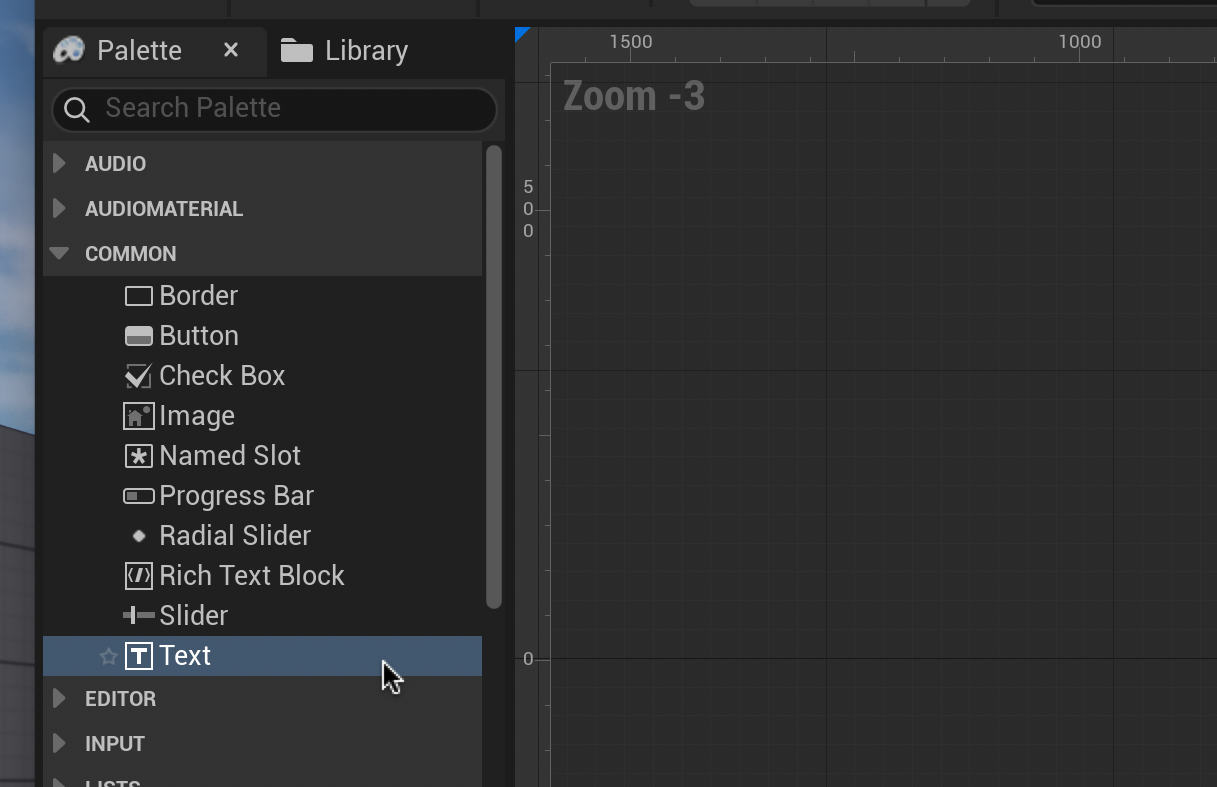
Press the “x” to the left of the search field. Drag an image block and a text block from the Palette panel into the newly created Horizontal Box
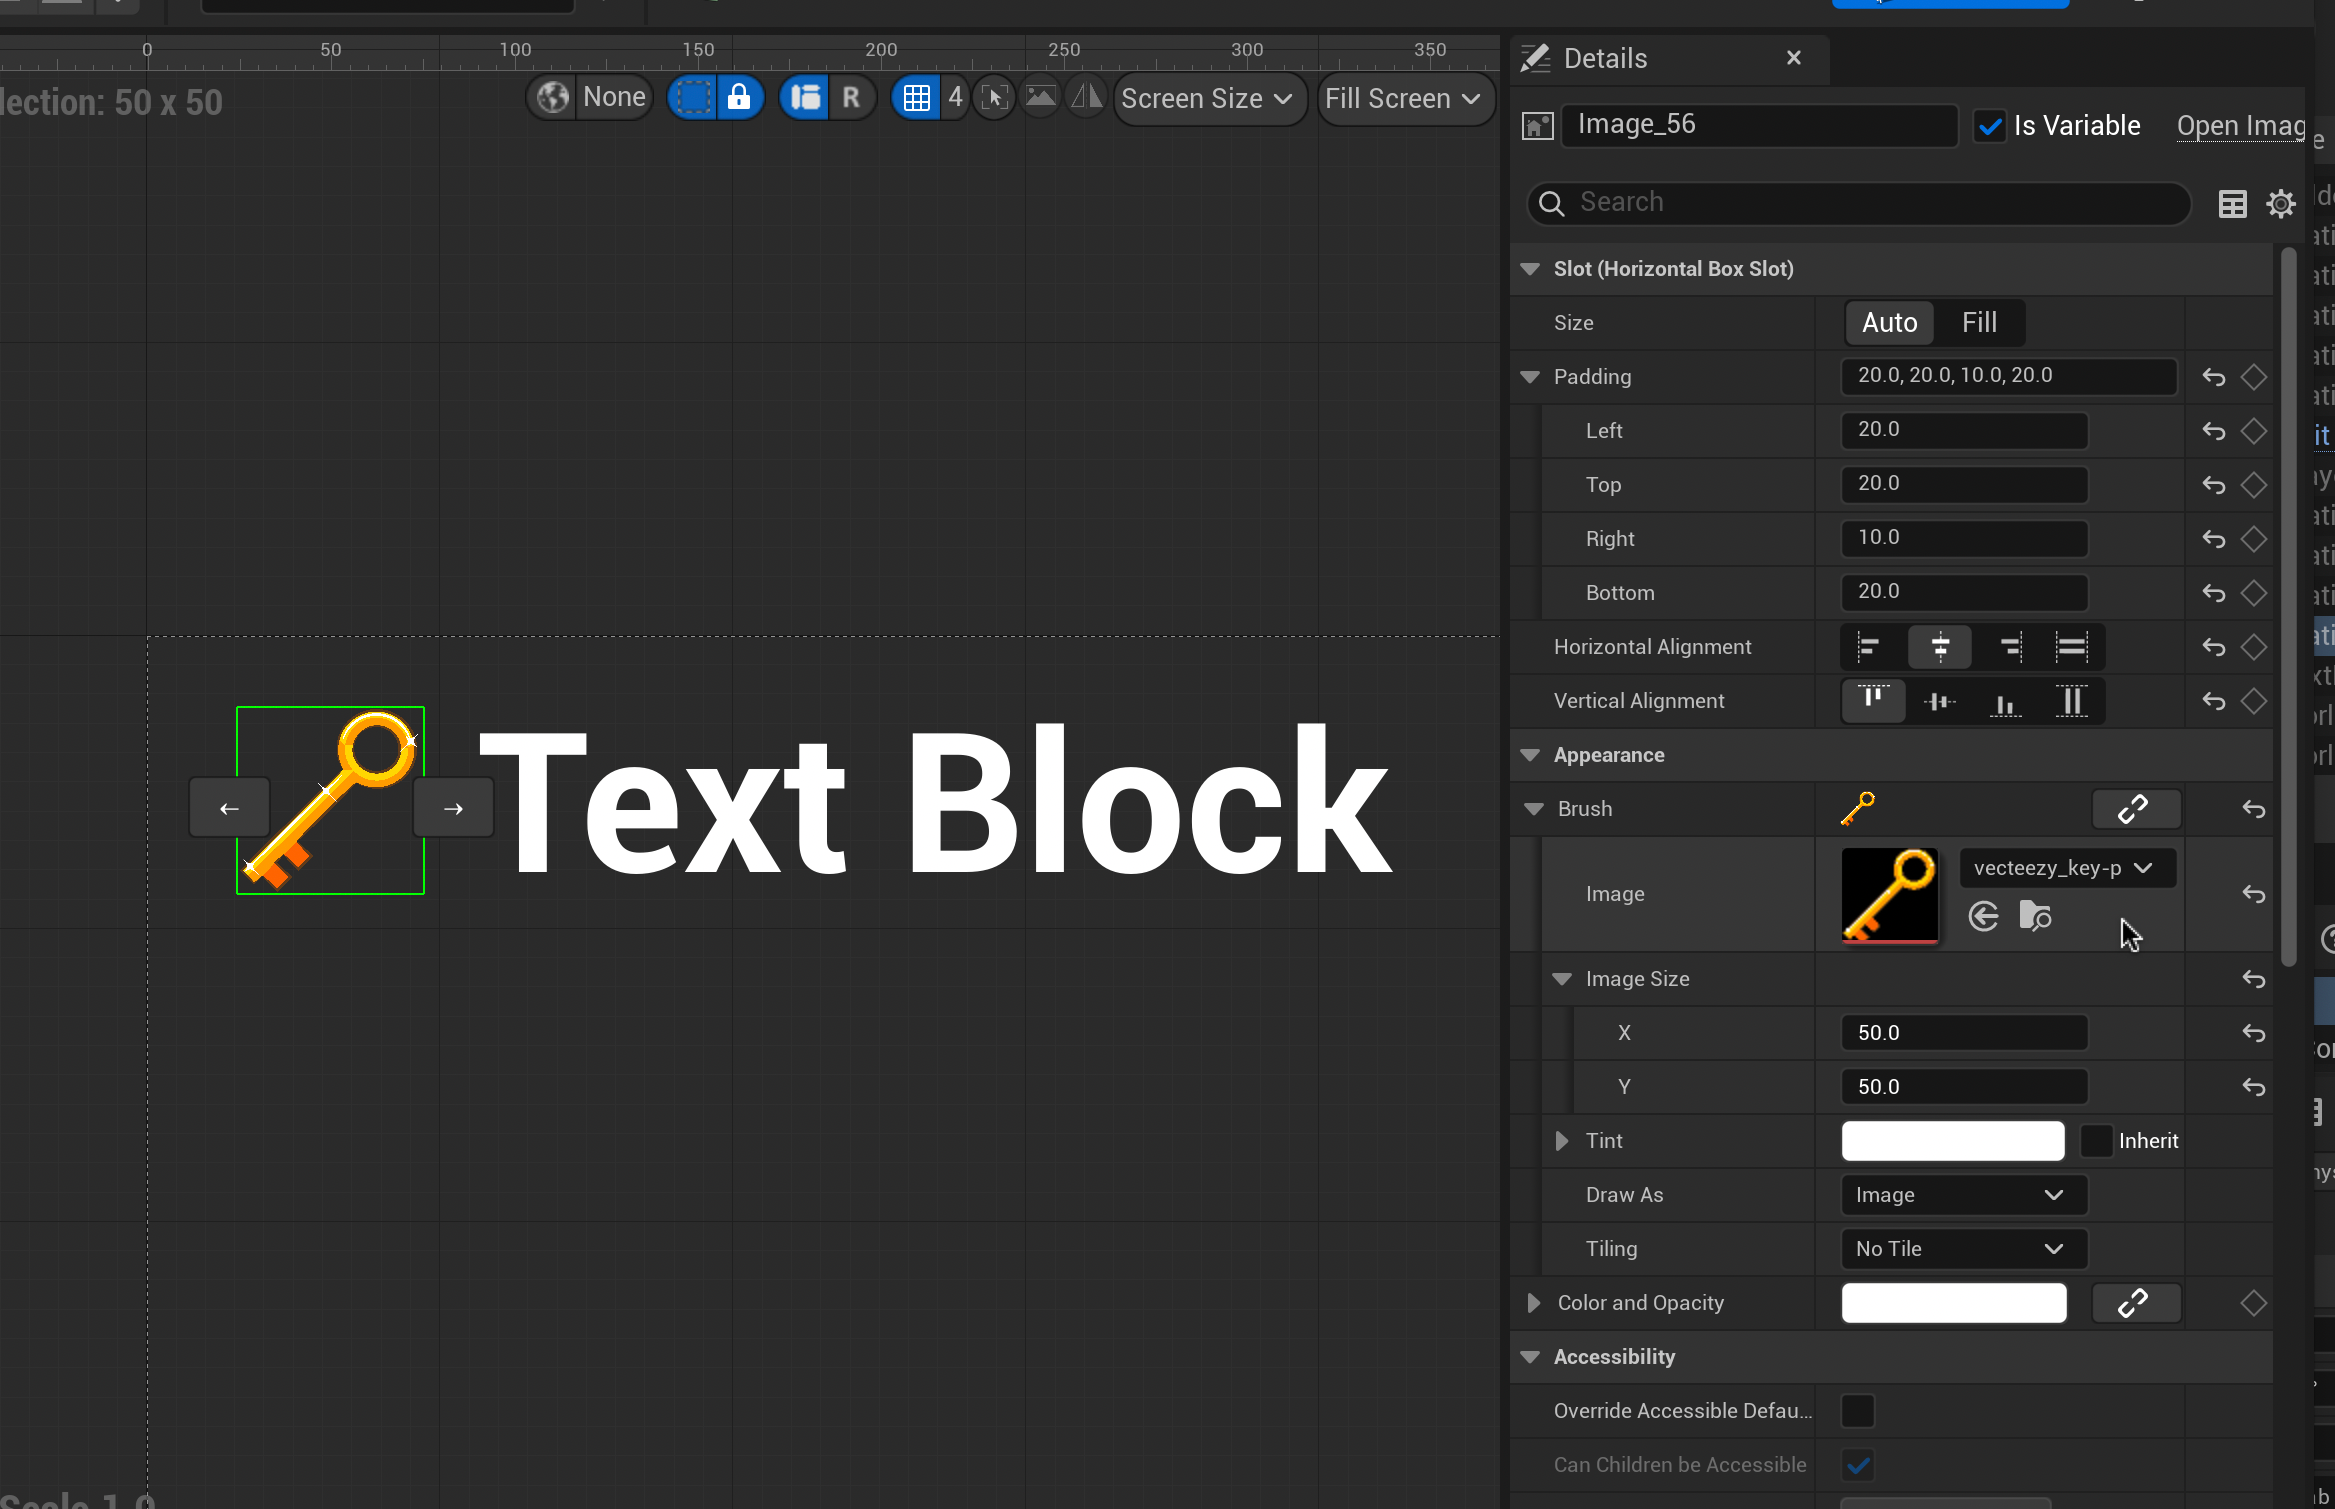
Select your Image Block. On the right-side in the Details panel use the appearance menu to set the Image Block’s display image under “Brush”. You will need to upload your image to your project first (Content Drawer > Add > Import to /Game…). You can also set the image’s size here by changing it’s X and Y.
Once you are happy with your image, set the padding and alignment of your collectable items in the Slot menu above to space your image away from the edge of the screen and textbox.
Feel free to use my presets displayed above.
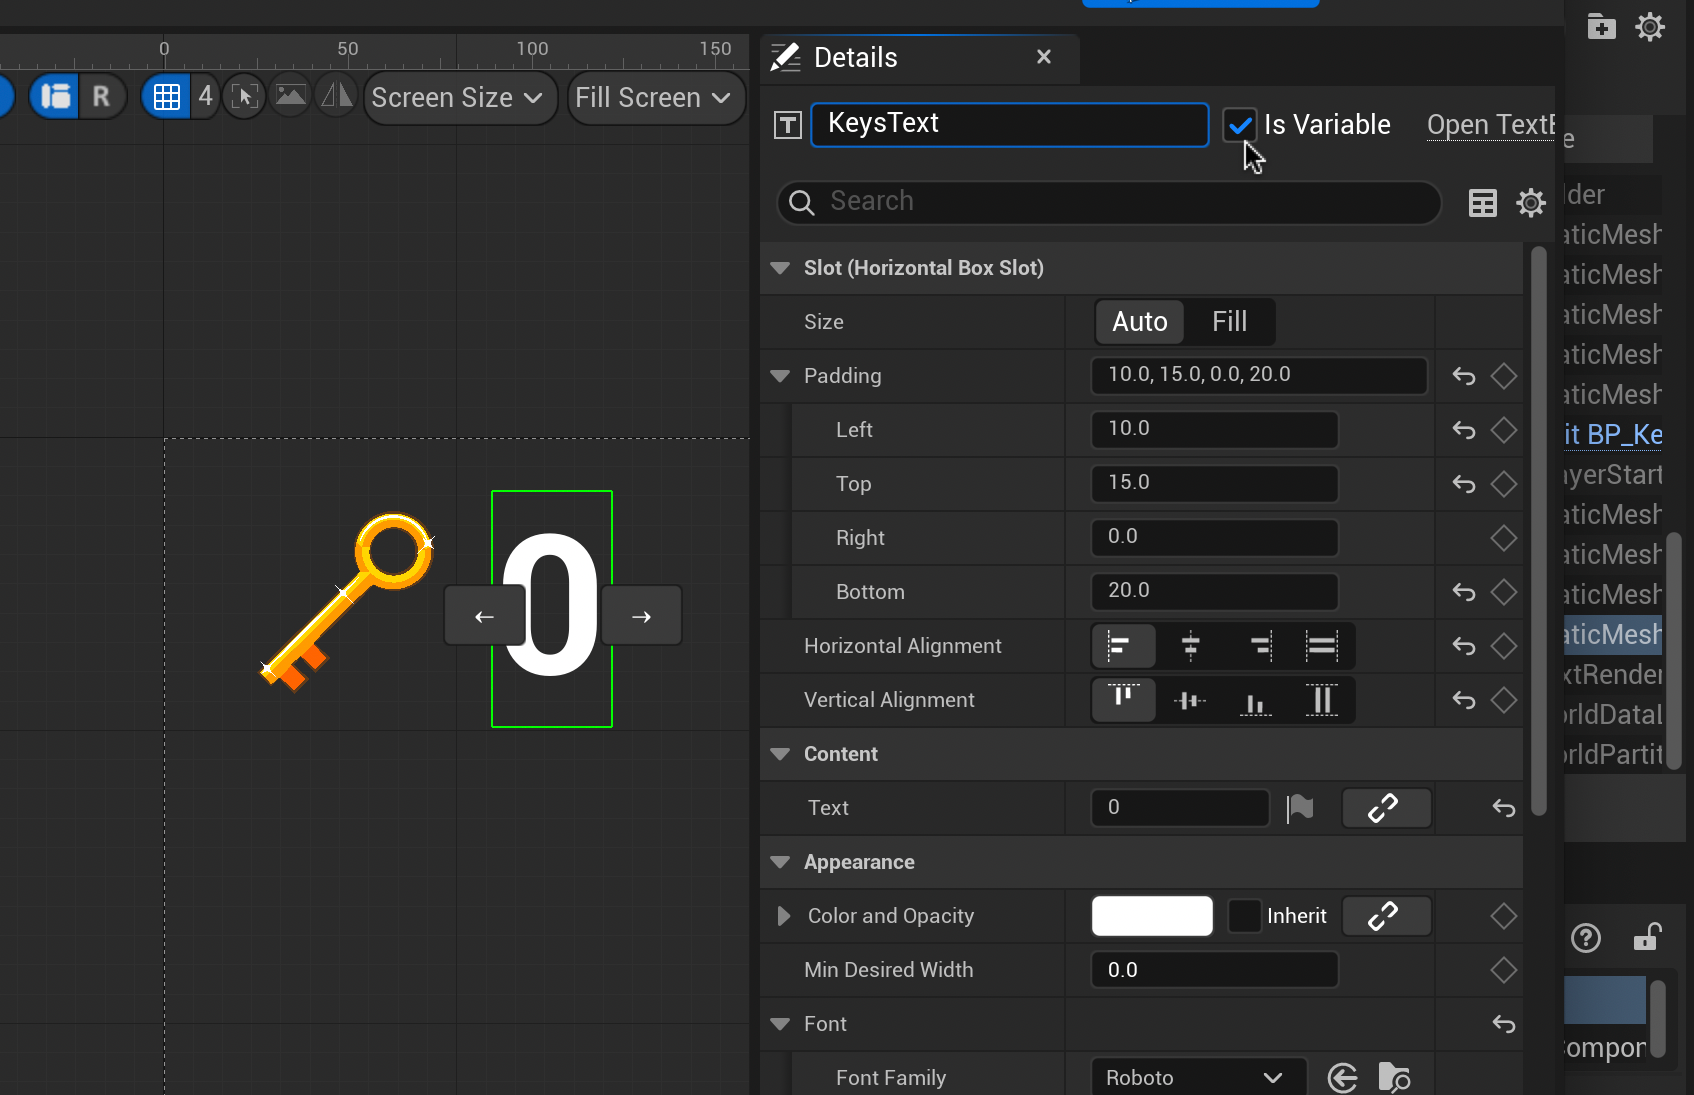
Now, select your Text Block. In the Details panel rename the Text Block to “[Item]Text” and tick “Is Variable”. In the content menu, change your default text to “0”.
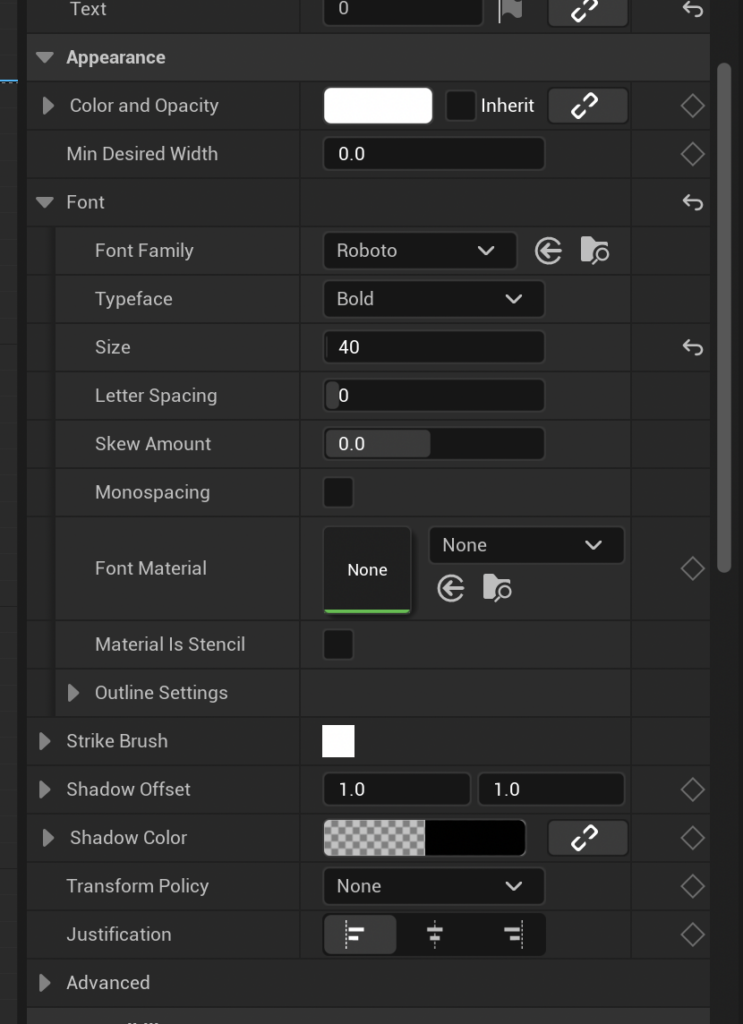
Scroll down to the Appearance menu to change the text size and font to your preference. When you are happy with your section, set the Text Block’s padding and alignment as you did before with your image.
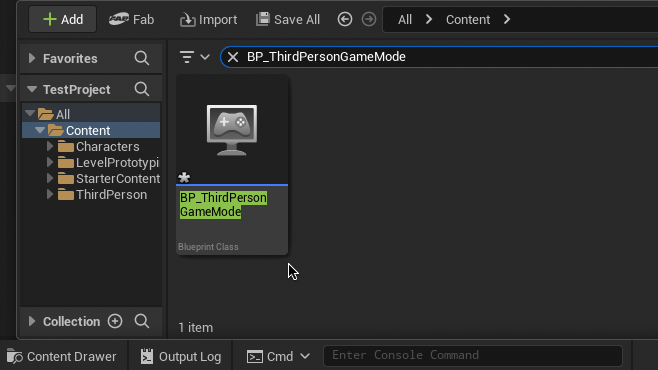
We now need to create an Event Dispatcher to communicate with the Widget. In the Content Drawer search for “BP_ThirdPersonGameMode”. Double-click to open the Graph Editor.
In the Components panel on the left, add an Event Dispatcher. Name it “[Item]Amount”.
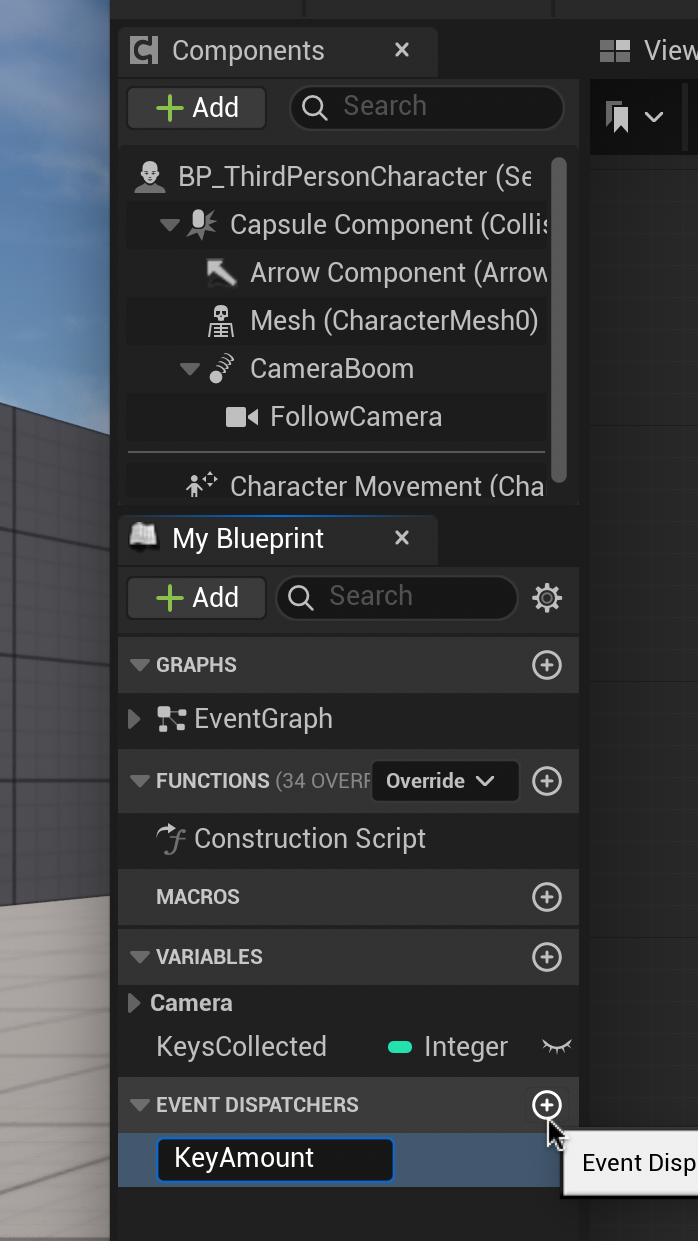
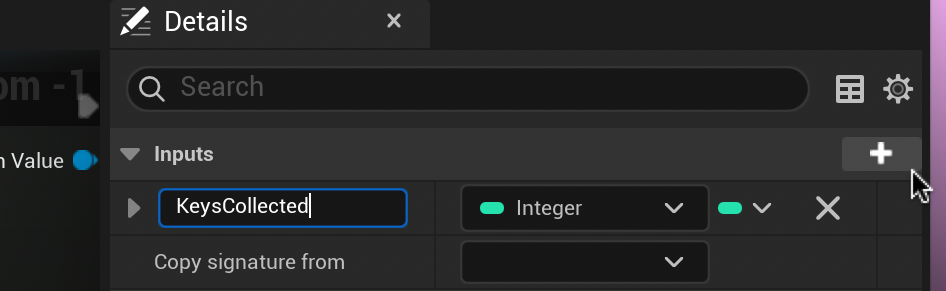
With our new dispatcher selected, go to the right Details panel and add a new parameter using the plus button. Change the name to “[Items]Collected” and change it into an integer.
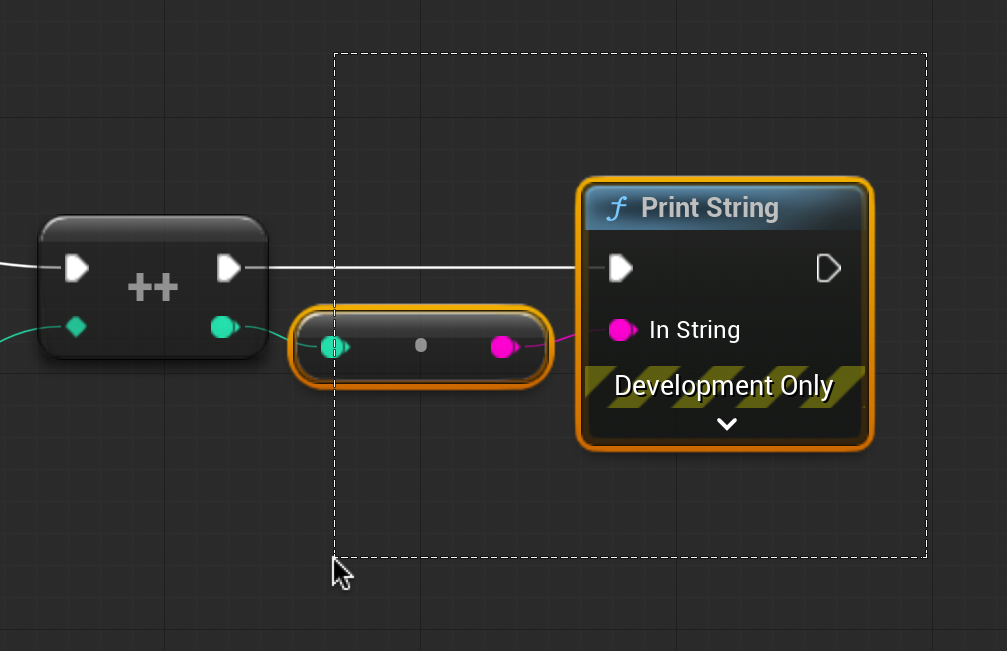
Select and delete the Print String nodes we created before.
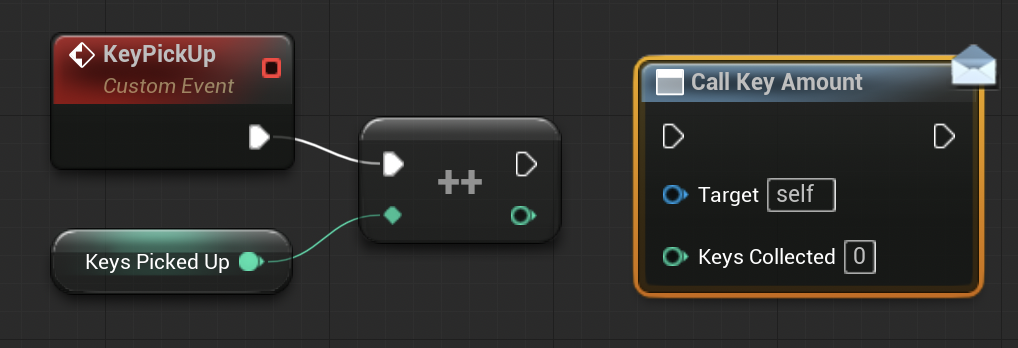
From the Event Dispatchers panel on the left, drag the [Item]Amount dispatcher into the graph editor and select “Call”.
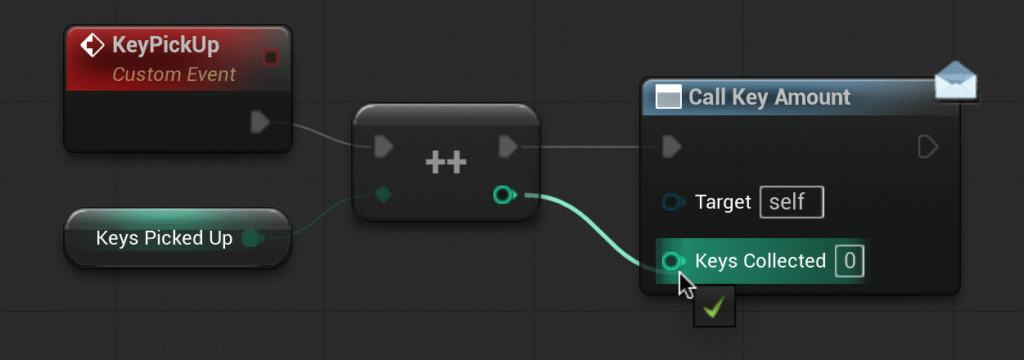
Connect Call Key Amount to the Incremental Int node as shown (note the dull lines). Click Compile.
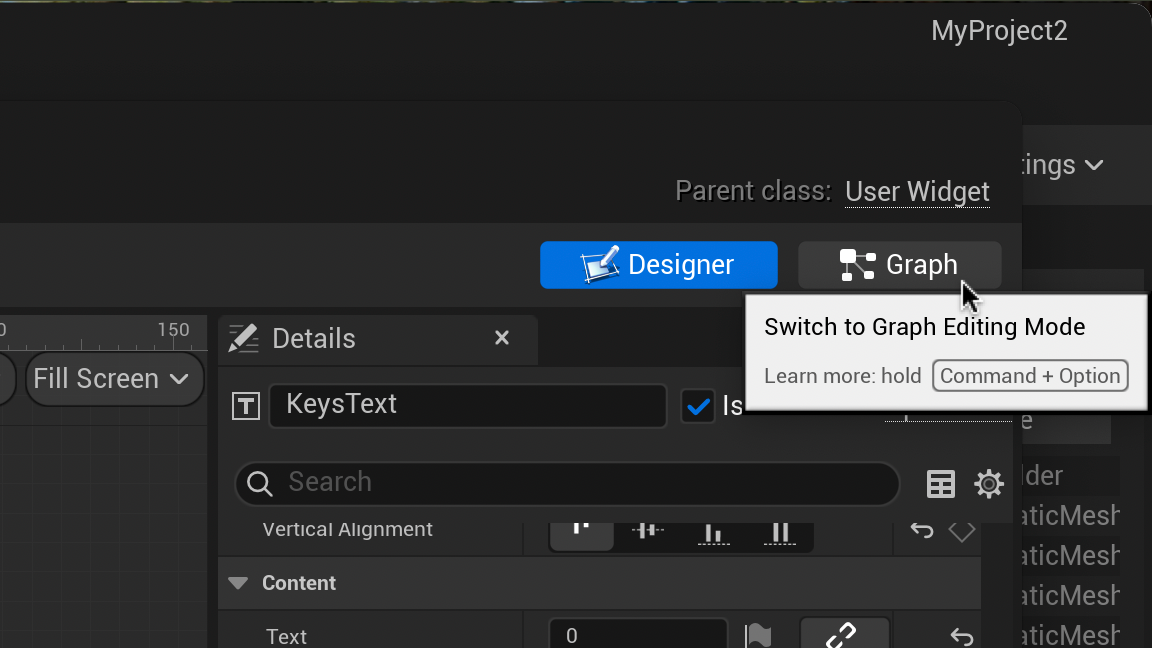
Let’s return to our Widget Blueprint and head to the Graph tab.

From Event Construct drag and release to type and select “Cast to BP_ThirdPersonGameMode”. From the Object pin of the new node type and select “Get Game Mode”.
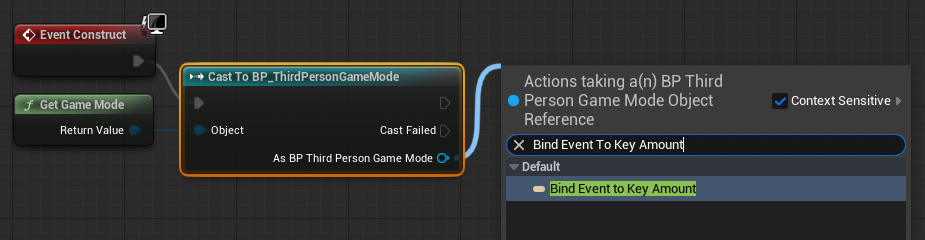
From the Cast to BP_ThirdPersonGameMode node drag and release the As BP Third Person Game Mode pin. Type and select “Bind Event to [Item] Amount”
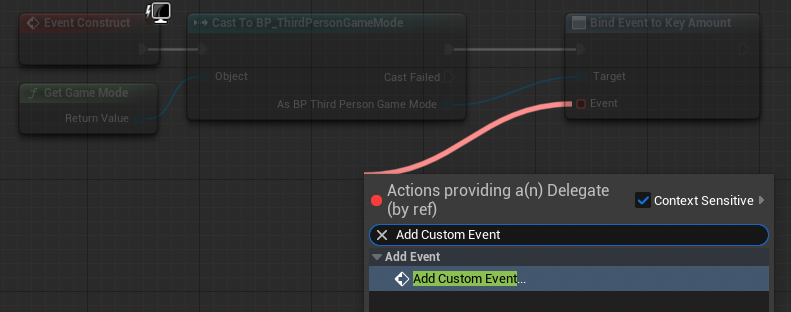
From Bind Event to [Item] Amount drag and release Event. Type and Select “Add Custom Event”. Name this event “Update[Item]Counter”.
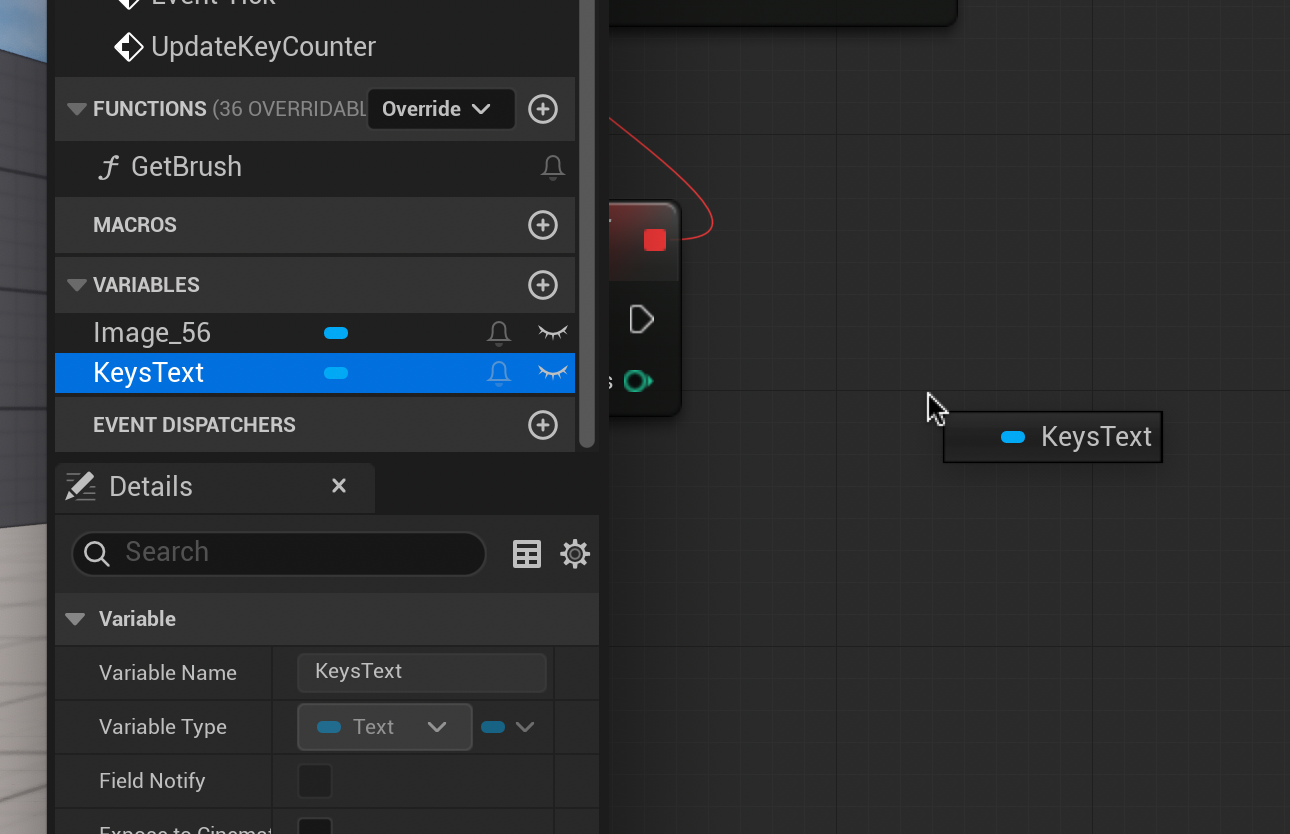
From the Variables Panel on the left drag out “[Item]Text” and select “Get Keys Text”
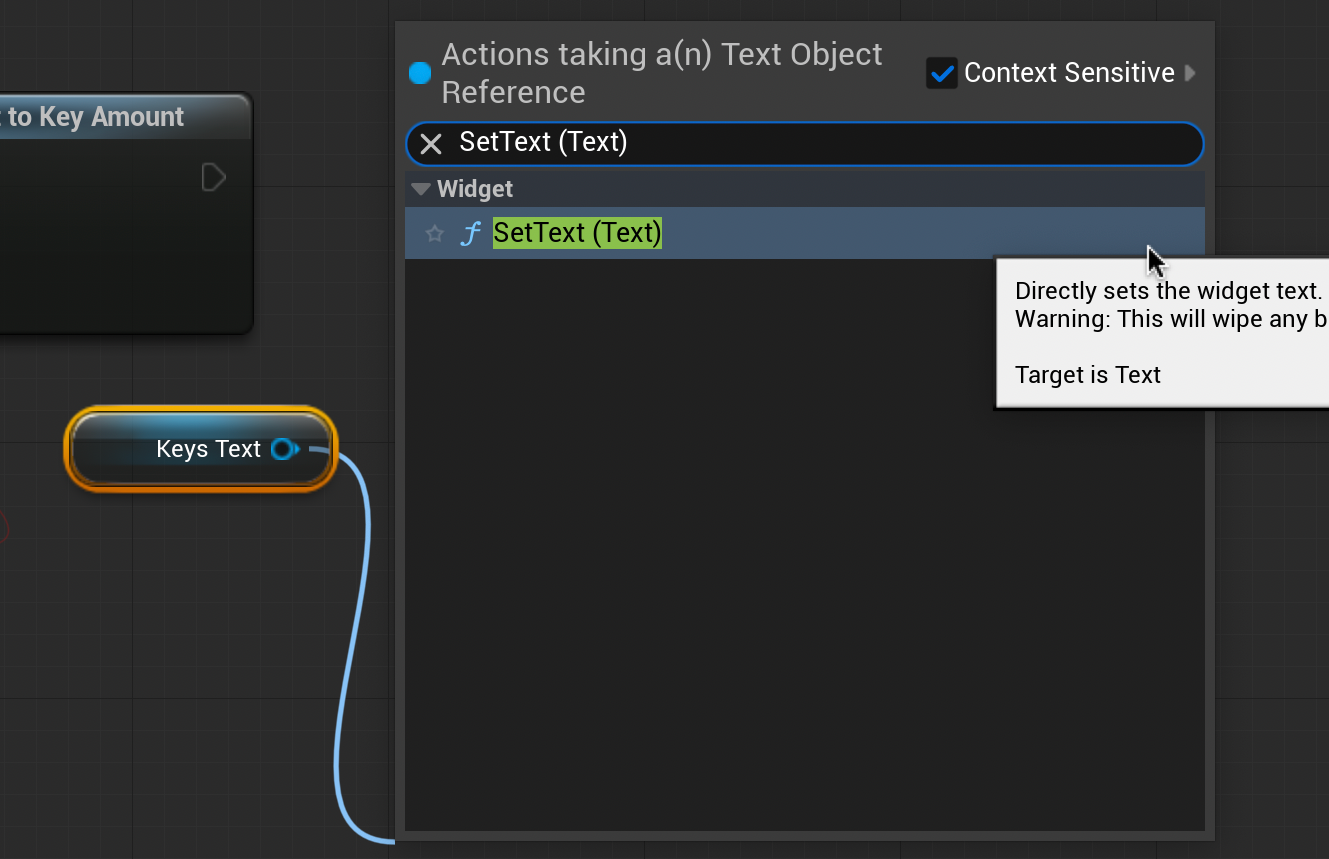
Drag and release from the [Item] Text node. Type and select “SetText (Text)”.
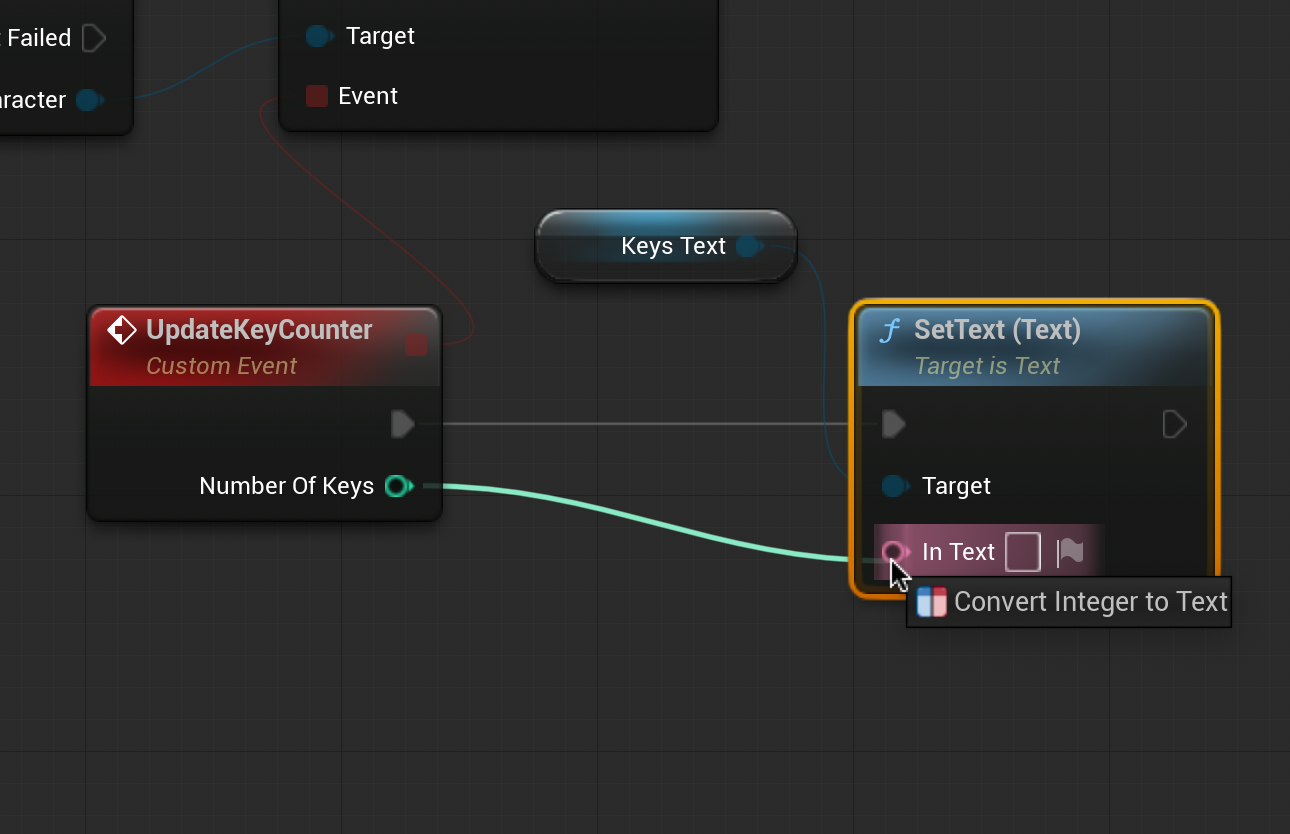
Connect the SetText node to the Update[Item]Counter as shown (note the dull grey line).
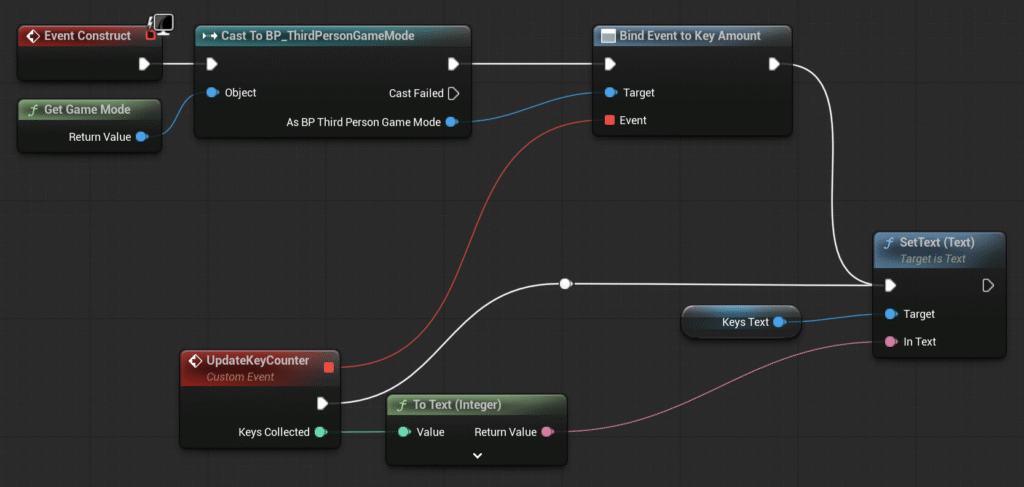
When completed, the WBP_HUD Event Graph should look like this. Click Compile.

Finally, we need to connect our HUD to the viewport. From the Content Drawer return to “BP_ThirdPersonGameMode” and double click to open. Click “Open full Blueprint Editor”.
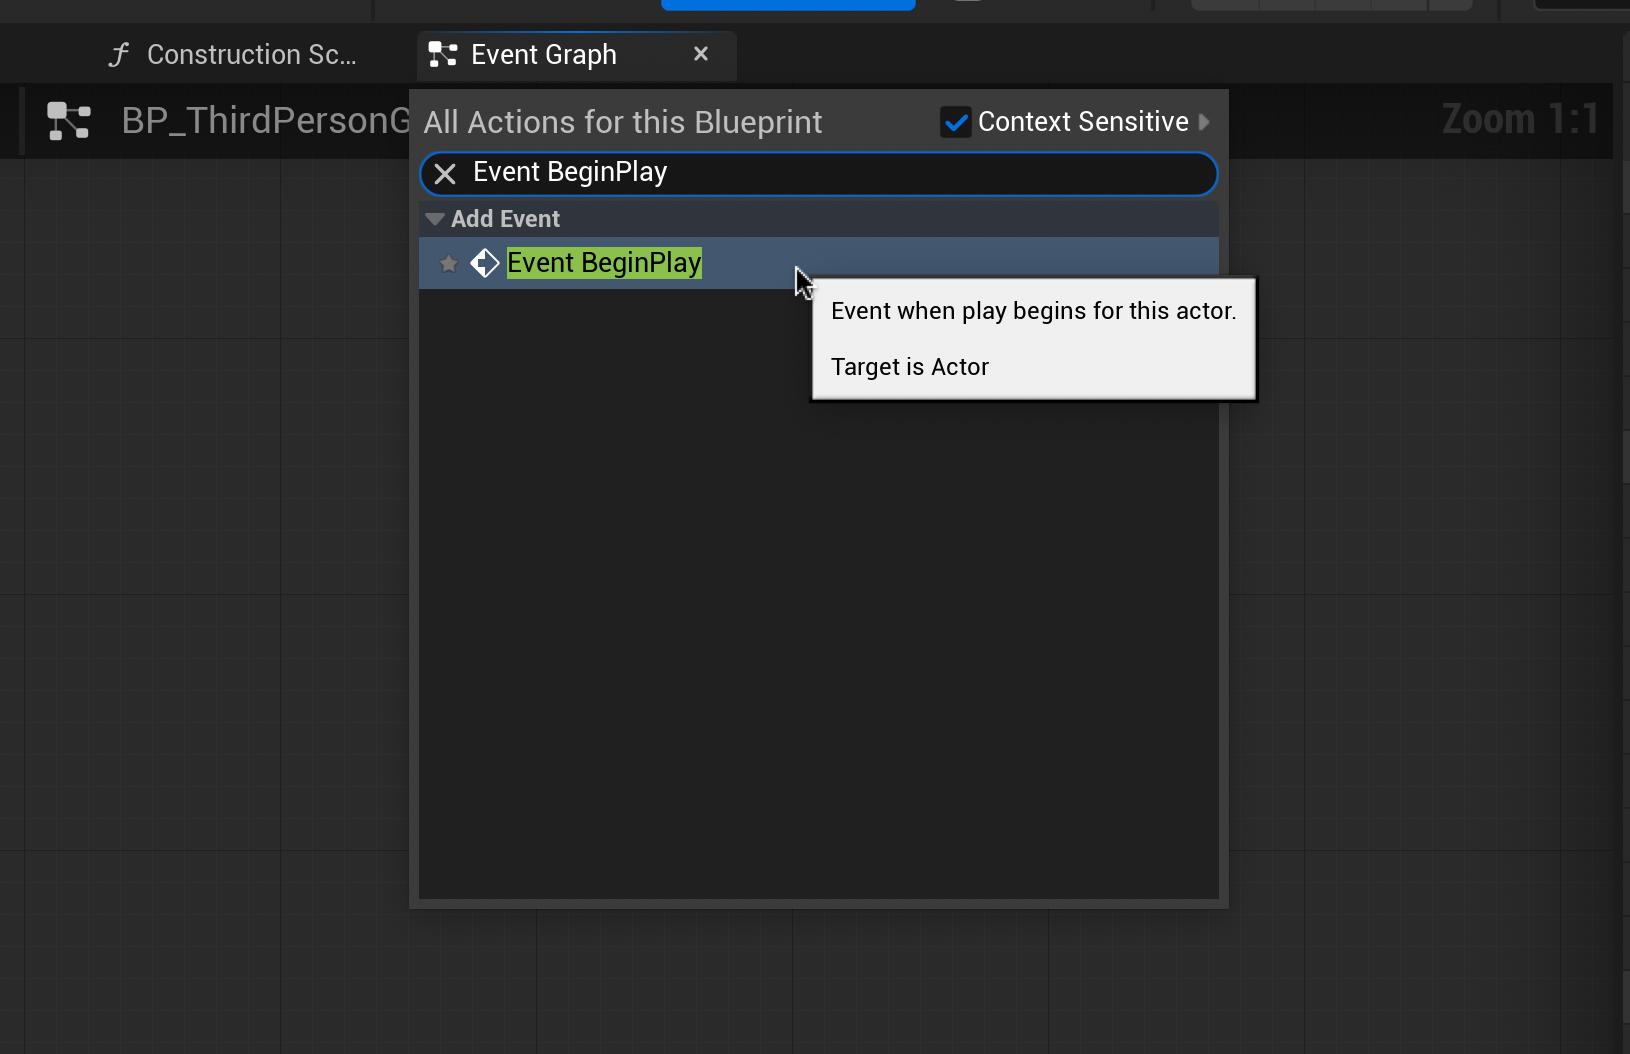
Right-click a blank area of the Graph Editor. Type and select “Event BeginPlay”. Drag and release from this node, type and select “Create Widget”.
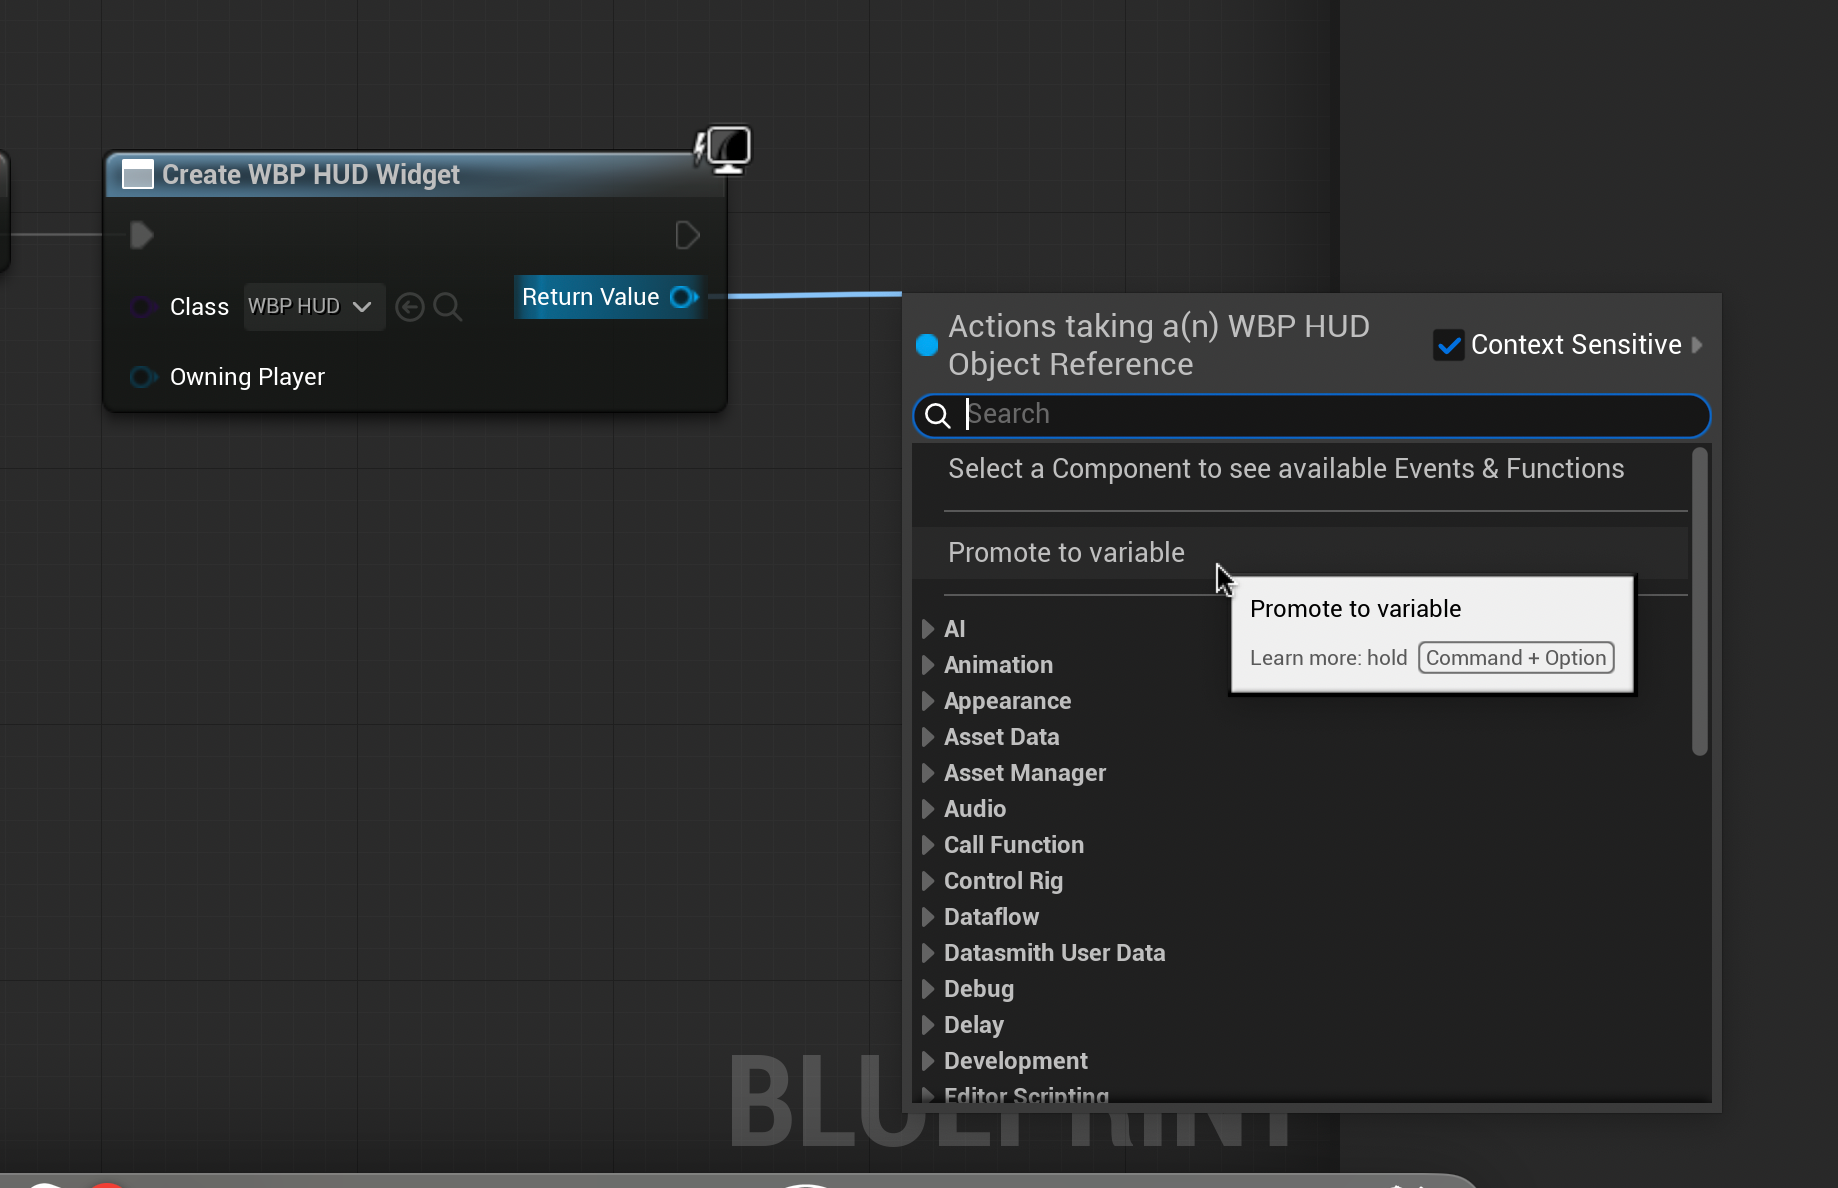
Change the nodes class to “WBP_HUD”. Drag and release the return value and select “Promote to Variable”. From the bottom right blue arrow of the new node, drag and release. Type and select “add to Viewport”
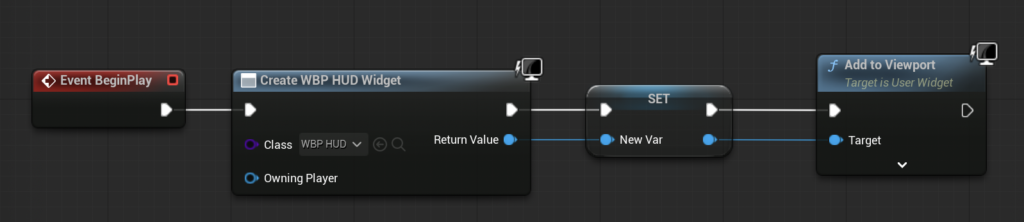
The Event Graph should look like this when you are done. Compile and test.
You should now be able to see an active counter in your top left corner of the screen that increases by one every time you pick up a collectable.