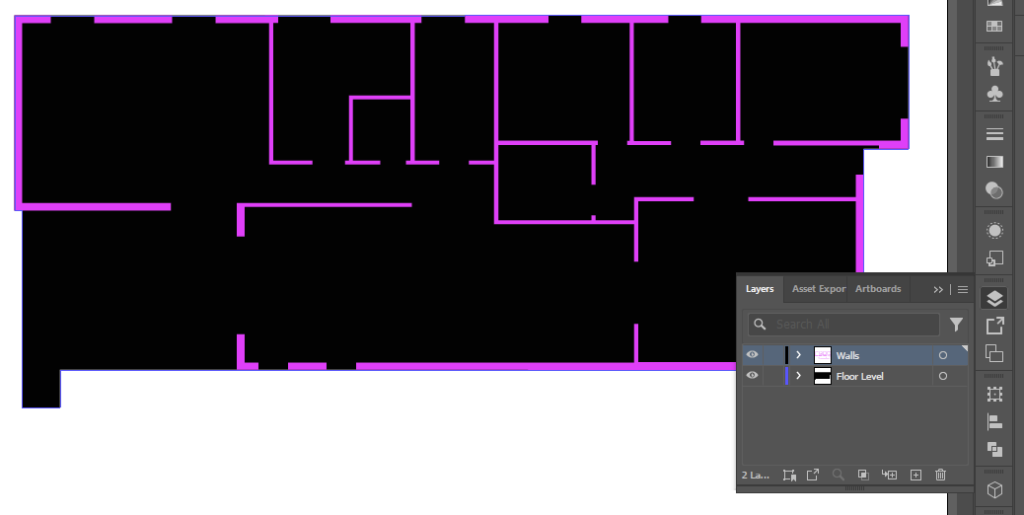
To prepare our floor plan for importing into Bambu Studio, we need to separate the walls and floor into different layers.
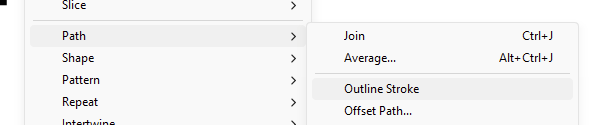
After separating, make sure any strokes are converted to closed objects. Select all of the walls, click Object > Path > Outline Stroke.
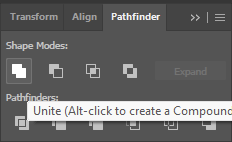
Now we need to flatten any overlapping shapes. In the Pathfinder Panel, use Unite to flatten all of the walls.
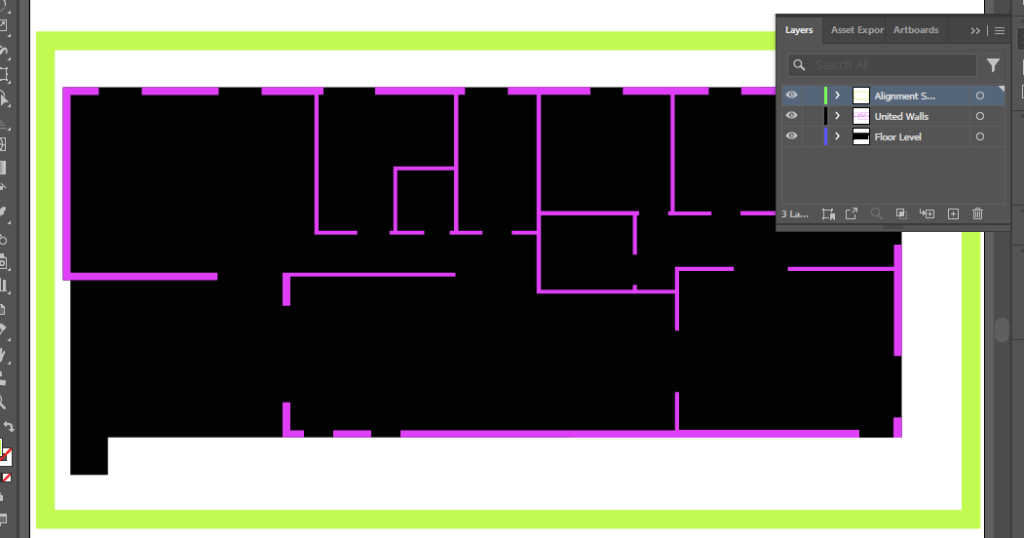
Finally, we need to create an alignment square, this ensures our different layers are imported in the correct orientation. In a new layer, create a square with an outline and no fill around your floor plan. give it a thick stroke weight and use outline stroke as you did before.
Now can export our layers individually. Using the layers panel, toggle off visibility for the floor, being sure to keep the walls and the alignment square visible.
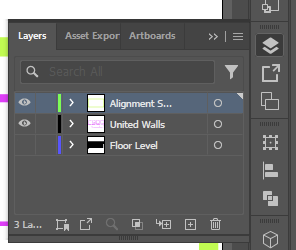

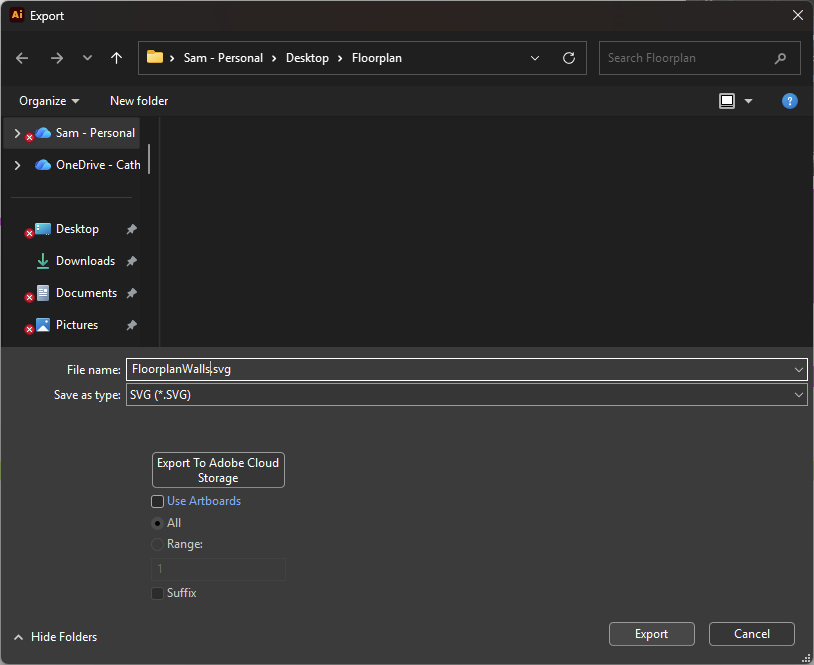
Using File > Export > Export As… export the visible layers as a .SVG file.
Toggle the floors visibility on and the walls visibility off and export again. Be sure the keep the alignment square visible.
Open Up Bambu Studio (you can also use similar slicers like Prusa Slicer or Orca Slicer)
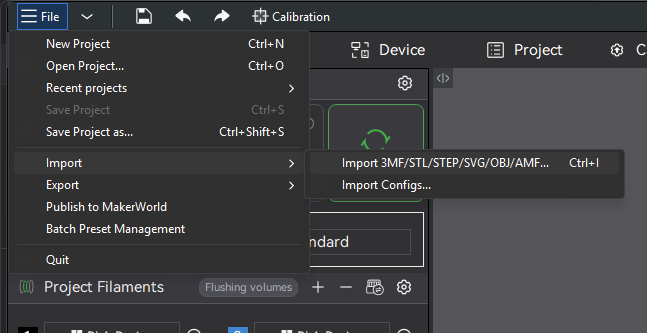
In the Prepare menu select File > Import > Import 3MF/STL/STEP/SVG/OBJ/AMF…
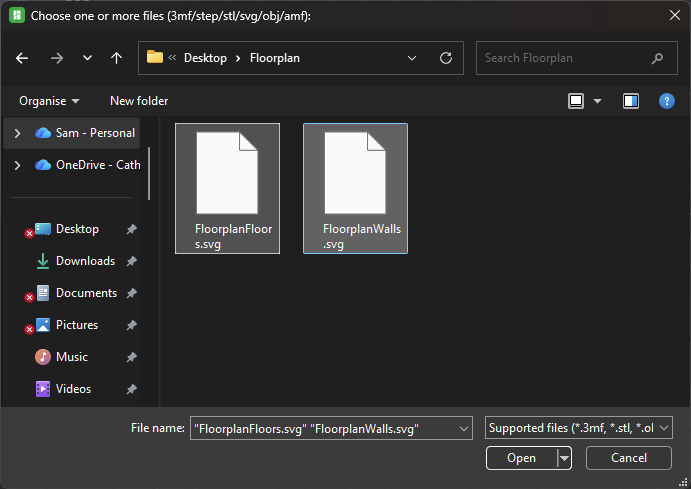
Import both of your exported .SVG files
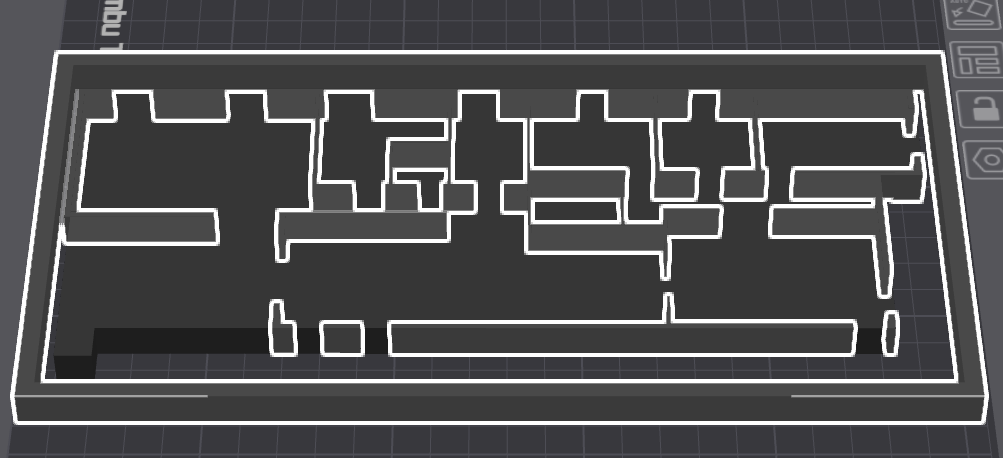
All layers should Import in perfect alignment, but the floor and walls should appear as the same height.

In the left-side toolbar, select “Objects” next to Process.
In the Objects Panel, find your floor and select it.
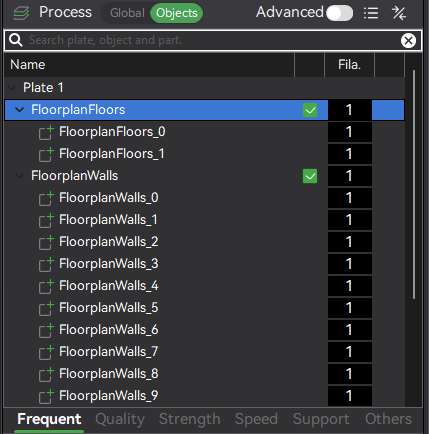
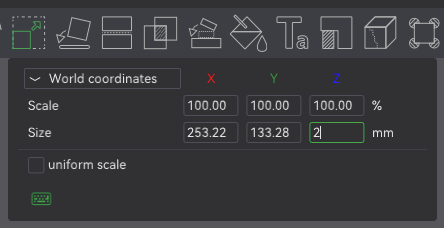
Using the Scale Tool in the top toolbar, reduce the height of the floor object. You can also raise the height of the walls in this way. Refer to your scale factor to determine what height each should be.
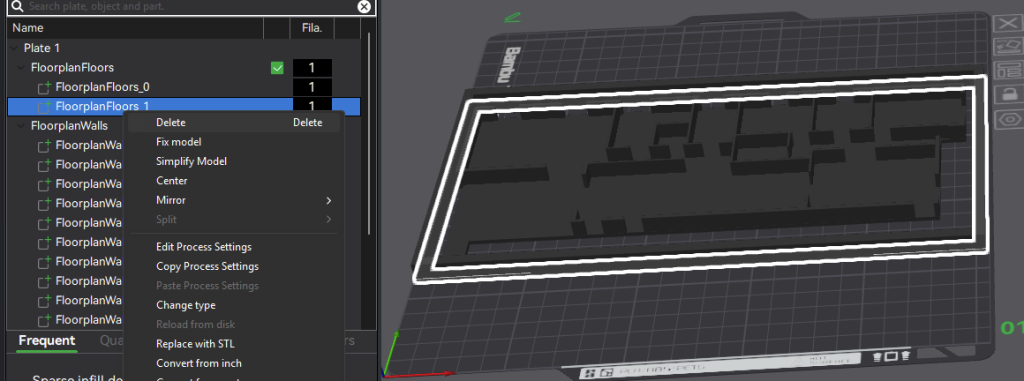
After you are happy with the height of your walls and floor, find the alignment square for each and right-click to delete them.
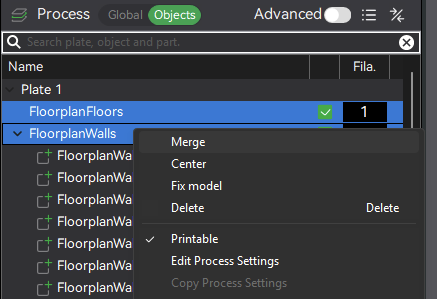
Finally, select both the Floor and Walls groups and right-click to merge into a single assembly.
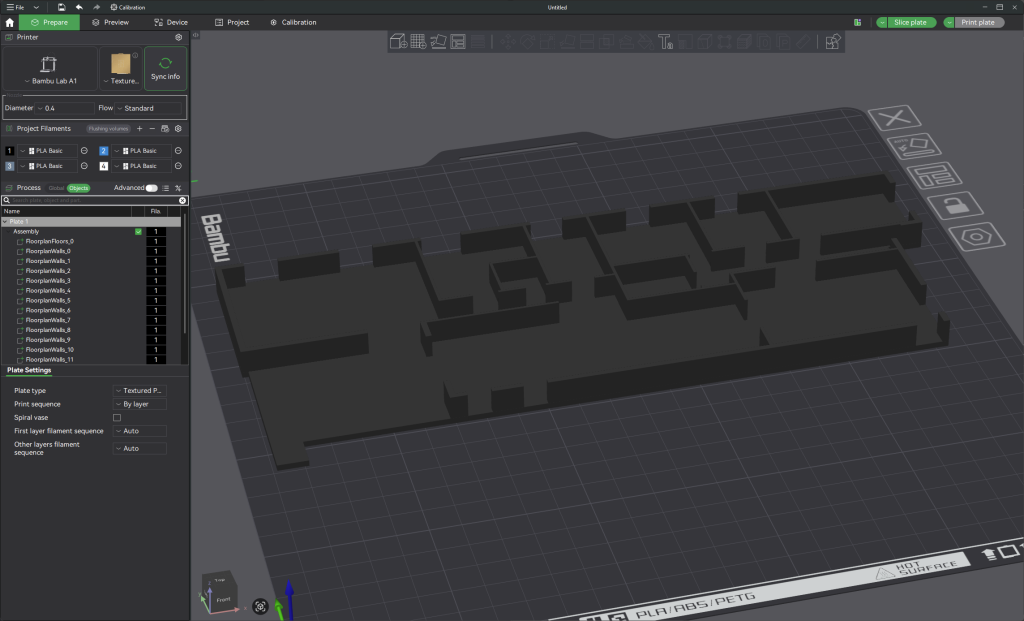
Your floor plan should now be a cohesive single object ready for printing.