Many people think that because young people grow up using phones, tablets, and computers, they must be “good with technology.” But studies are showing that digital literacy and basic computer skills are actually declining in Gen Z and Gen Alpha. This because the apps we use are so convenient that they often automatically do these tasks for us.
Managing folders, saving files properly, or using different programs are key skills that schools and jobs still rely on everyday. Whether you’re writing a report, making a slideshow, editing a video, or just emailing someone a file. Good file management saves time, reduces stress, and shows you know what you’re doing.
Here’s a basic task that shows your current real-world computer skills. Try to complete the task on your own first and see how far you can get without help. If you get stuck, step-by-step instructions are provided at the bottom of the page.
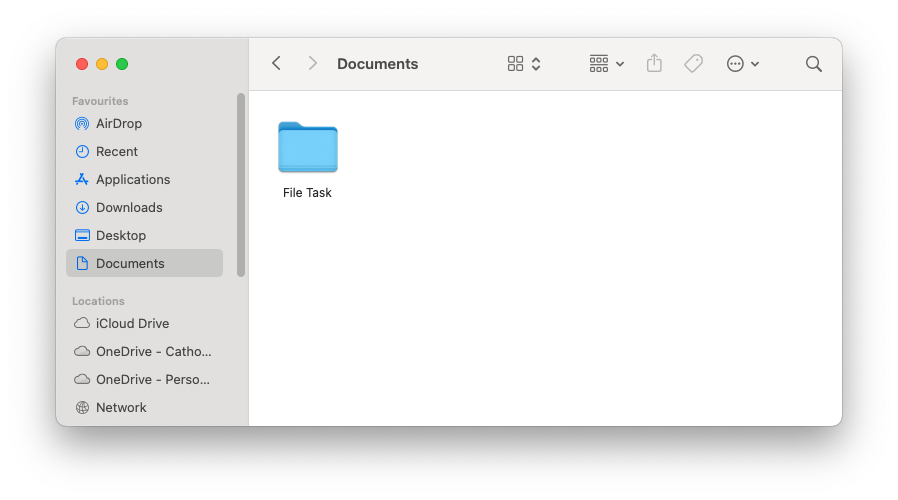
In Documents, create a new folder. Name it “File Task“
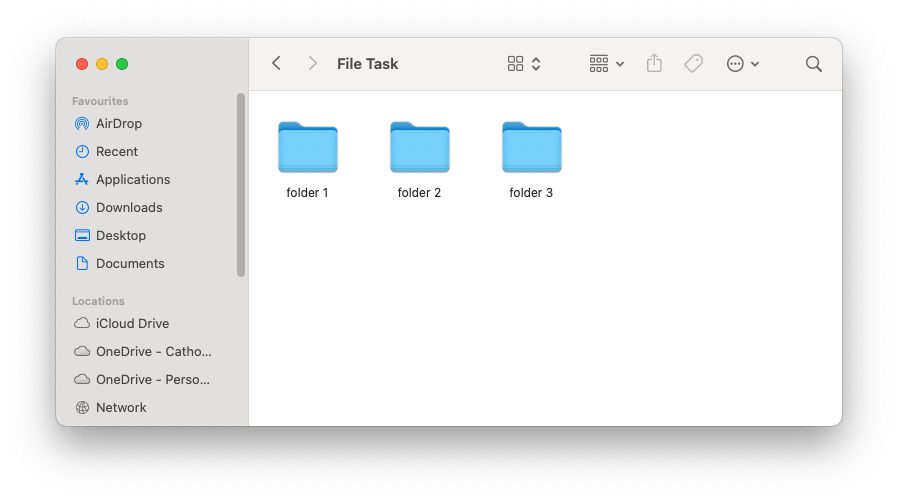
Inside the folder, create 3 more folders. Name these folders:
folder 1folder 2folder 3
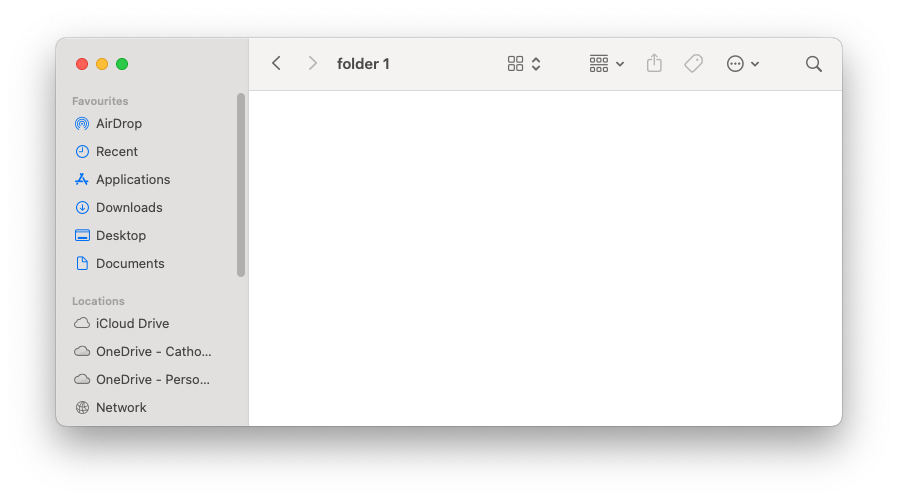
Leave the first folder empty.
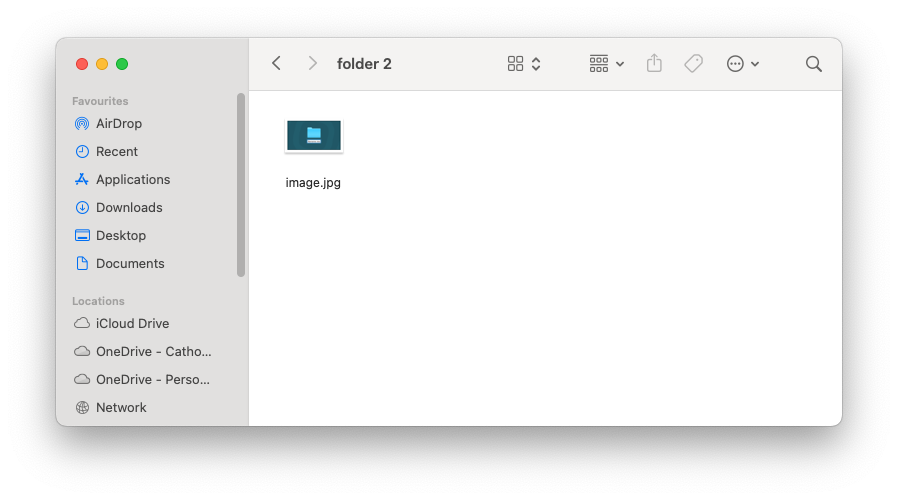
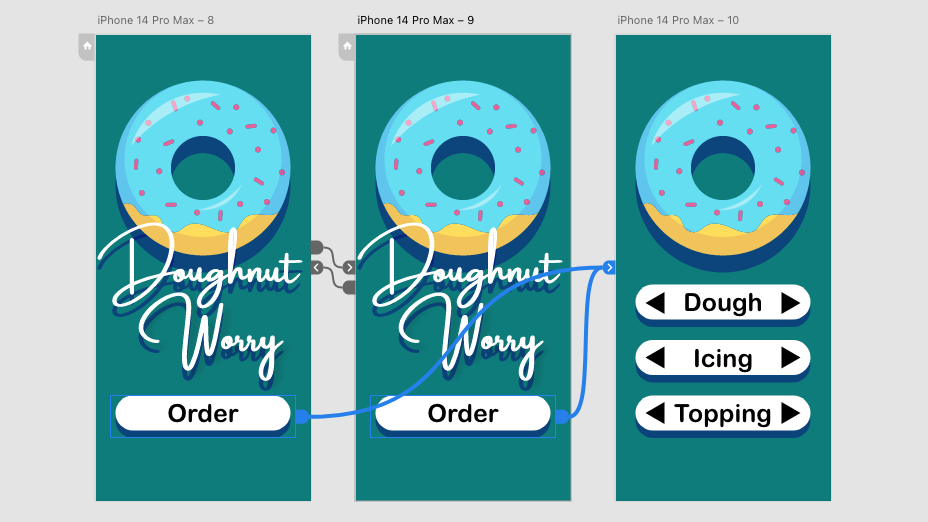
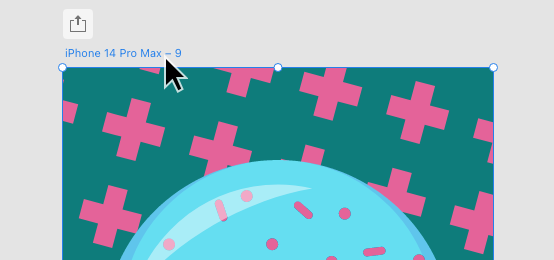
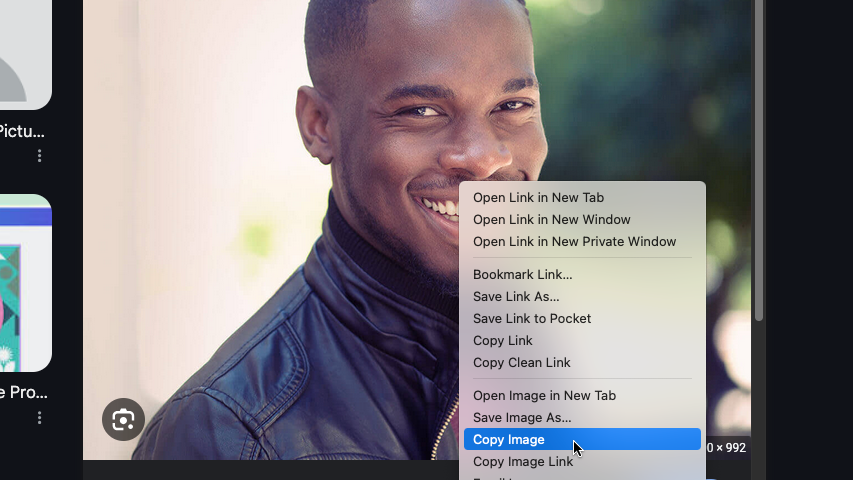
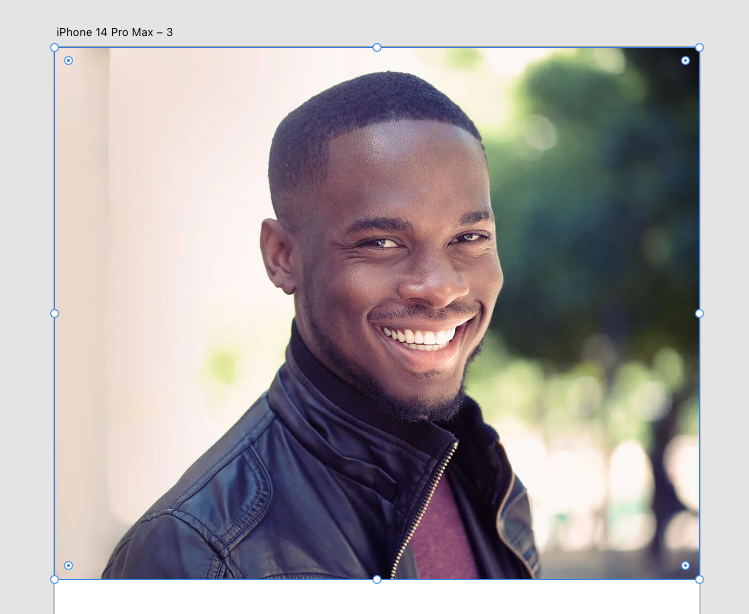
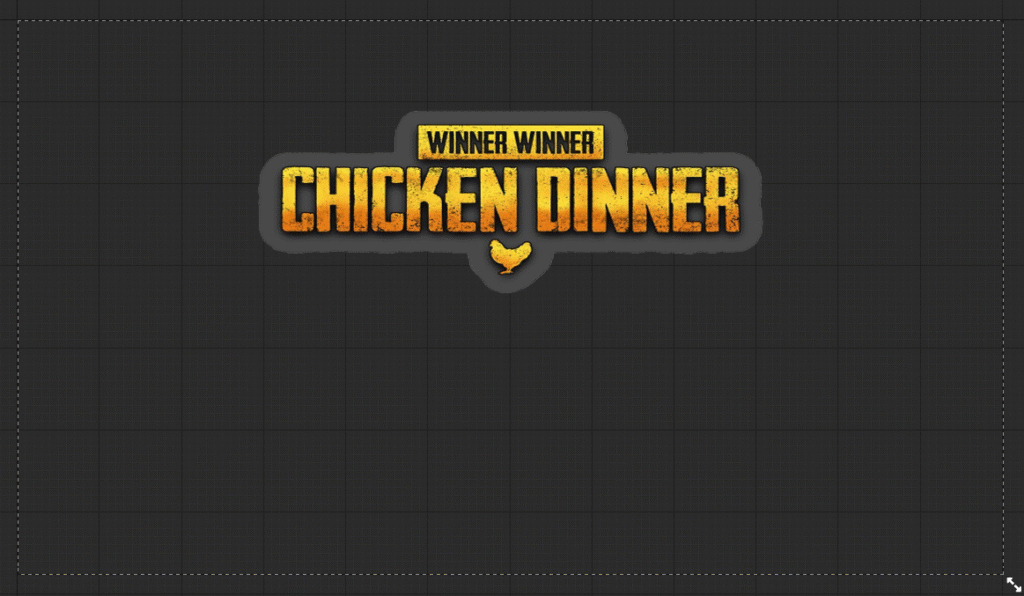
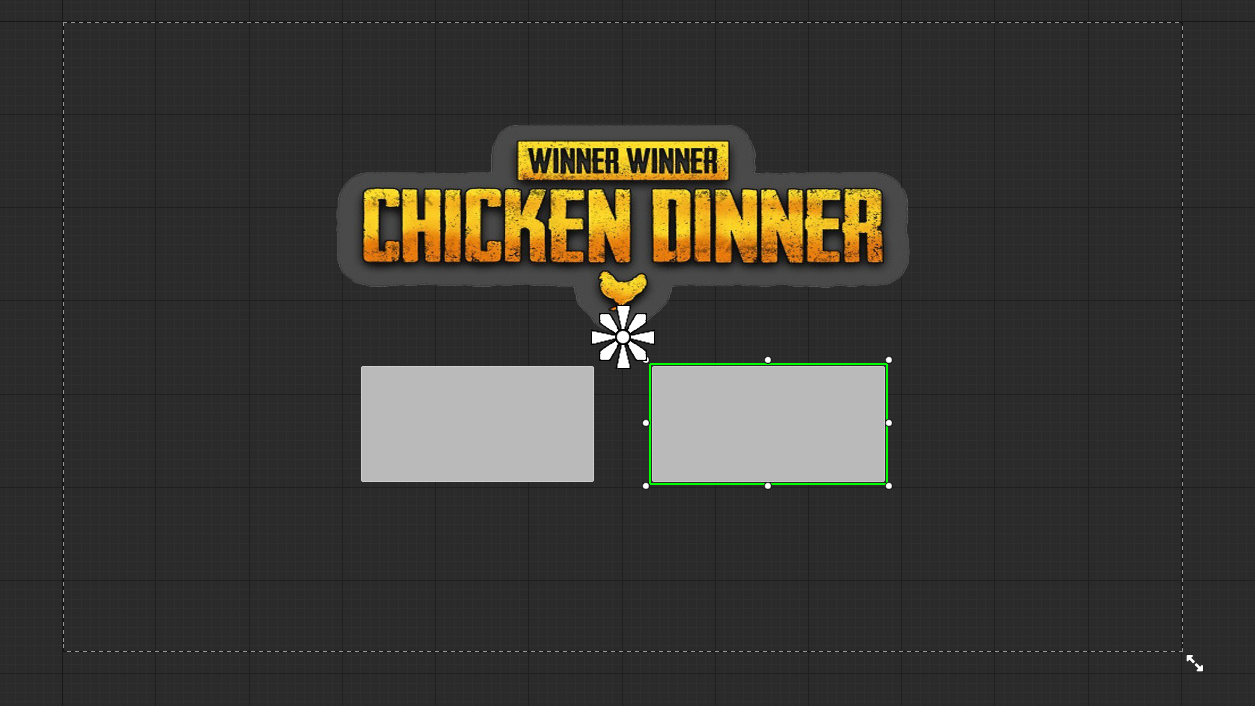
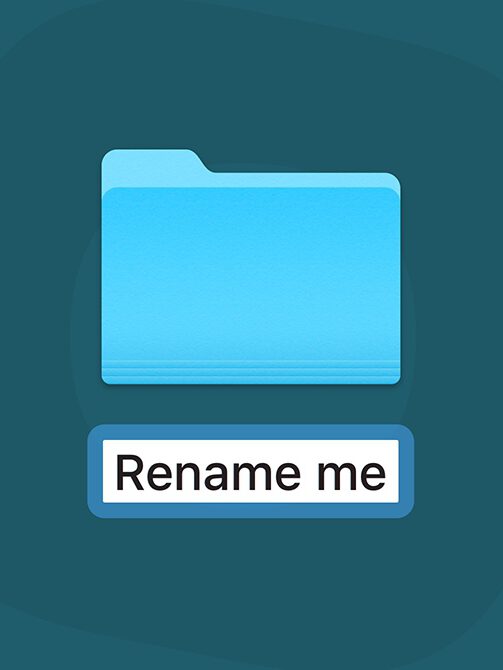
Save the image to the right into folder 2. Rename the image file “image.jpg”
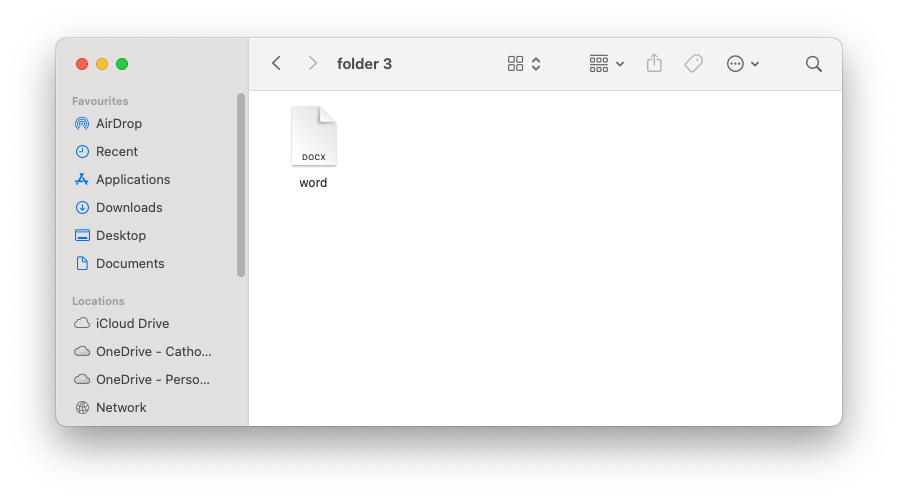
In folder 3, create and save a Word document. Name the document “word“
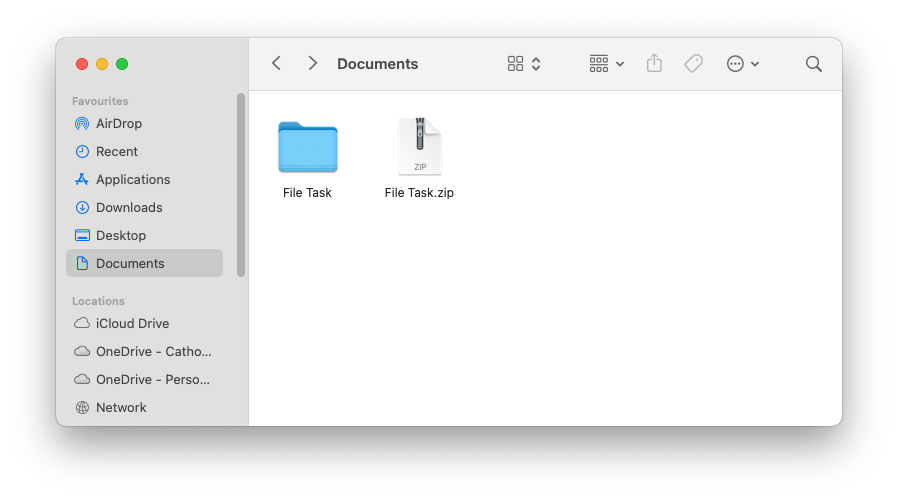
When you are finished, compress your File Task folder containing the other 3 folders into a ZIP folder and submit on compass.
By completing this task, you have practised and developed the following essential digital skills:
File and Folder Management
- Creating folders and subfolders
- Naming and renaming folders and files clearly
- Moving and saving files to specific locations
Basic Computer Operations
- Navigating through folders to find and organising files
- Using right-click or menus to rename and move files
- Preparing a group of files into a single ZIP folder for file handling, such as uploading to to an online platform.
These are basic digital skills you’ll use throughout your study and employment, especially when working with assignments, projects, or creative files.
Need Help? Here’s How to do it on a Mac
🗂 How to Create a New Folder
- Open
Finder(the blue-and-white smiley face on your Dock). - In the sidebar on the left, click on
Documents. - Right-click in an empty space.
- Click
New Folder. - A new folder will appear called “untitled folder” — rename it to
File Task
To create the 3 additional folders inside, double-click your new folder to open it and repeat the process.
🖼 How to Save an Image to a Specific location and Rename It
- Right-click the image to the right.
- Choose
Save Image As... - Choose your
folder 2from the list of folders. - Save the file.
- Go to
folder 2in Finder. - Right-click the image file and select
Rename. - Type “
image.jpg” and pressReturn.
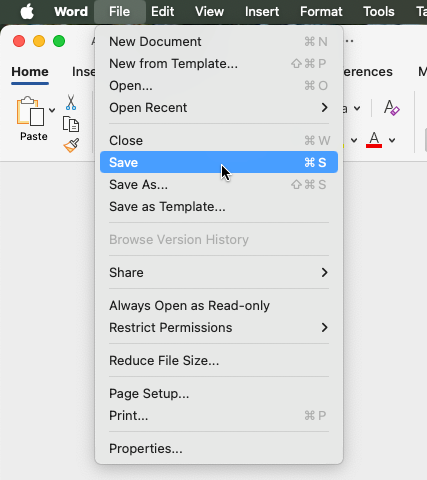
📄 How to Make a Word Document and Save It
- Open
Microsoft Wordfrom the Dock or by pressingcmd + Spaceand typing “word“. - Click
File>New Document(just make a blank one – you don’t need to type anything). - In the top-left corner, click
File > Save.
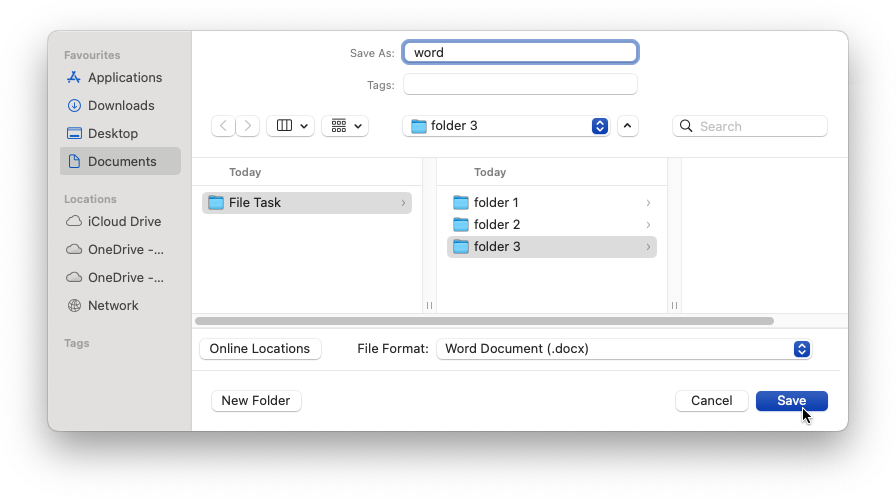
- Use the save window to choose
folder 3from your folders.
(You may need to selectOn My Macin the bottom left corner of the window to save locally.) - Name the file “
word” and press save. - Make sure the extension ends in
.docx
📦 How to Compress a ZIP Folder
- Go back to your Documents folder in Finder and find the
File Taskfolder you made (the one withfolder 1,folder 2, andfolder 3inside it). - Right-click the task folder.
- Select
Compressfrom the menu. - You’ll see a new file appear called
File Task.zip: That’s the one to upload to Compass.